Prototyping is the stage where a product idea moves from concept to something you can hold, and it is where the questions a screen cannot answer finally get resolved. Getting the timing right matters: too early and you test an underdeveloped idea, too late and problems surface when they are far more expensive to fix. This guide covers when to prototype, how to choose the right level, what a Mark I will and will not tell you, and how to read the moment a prototype tells you to change course.
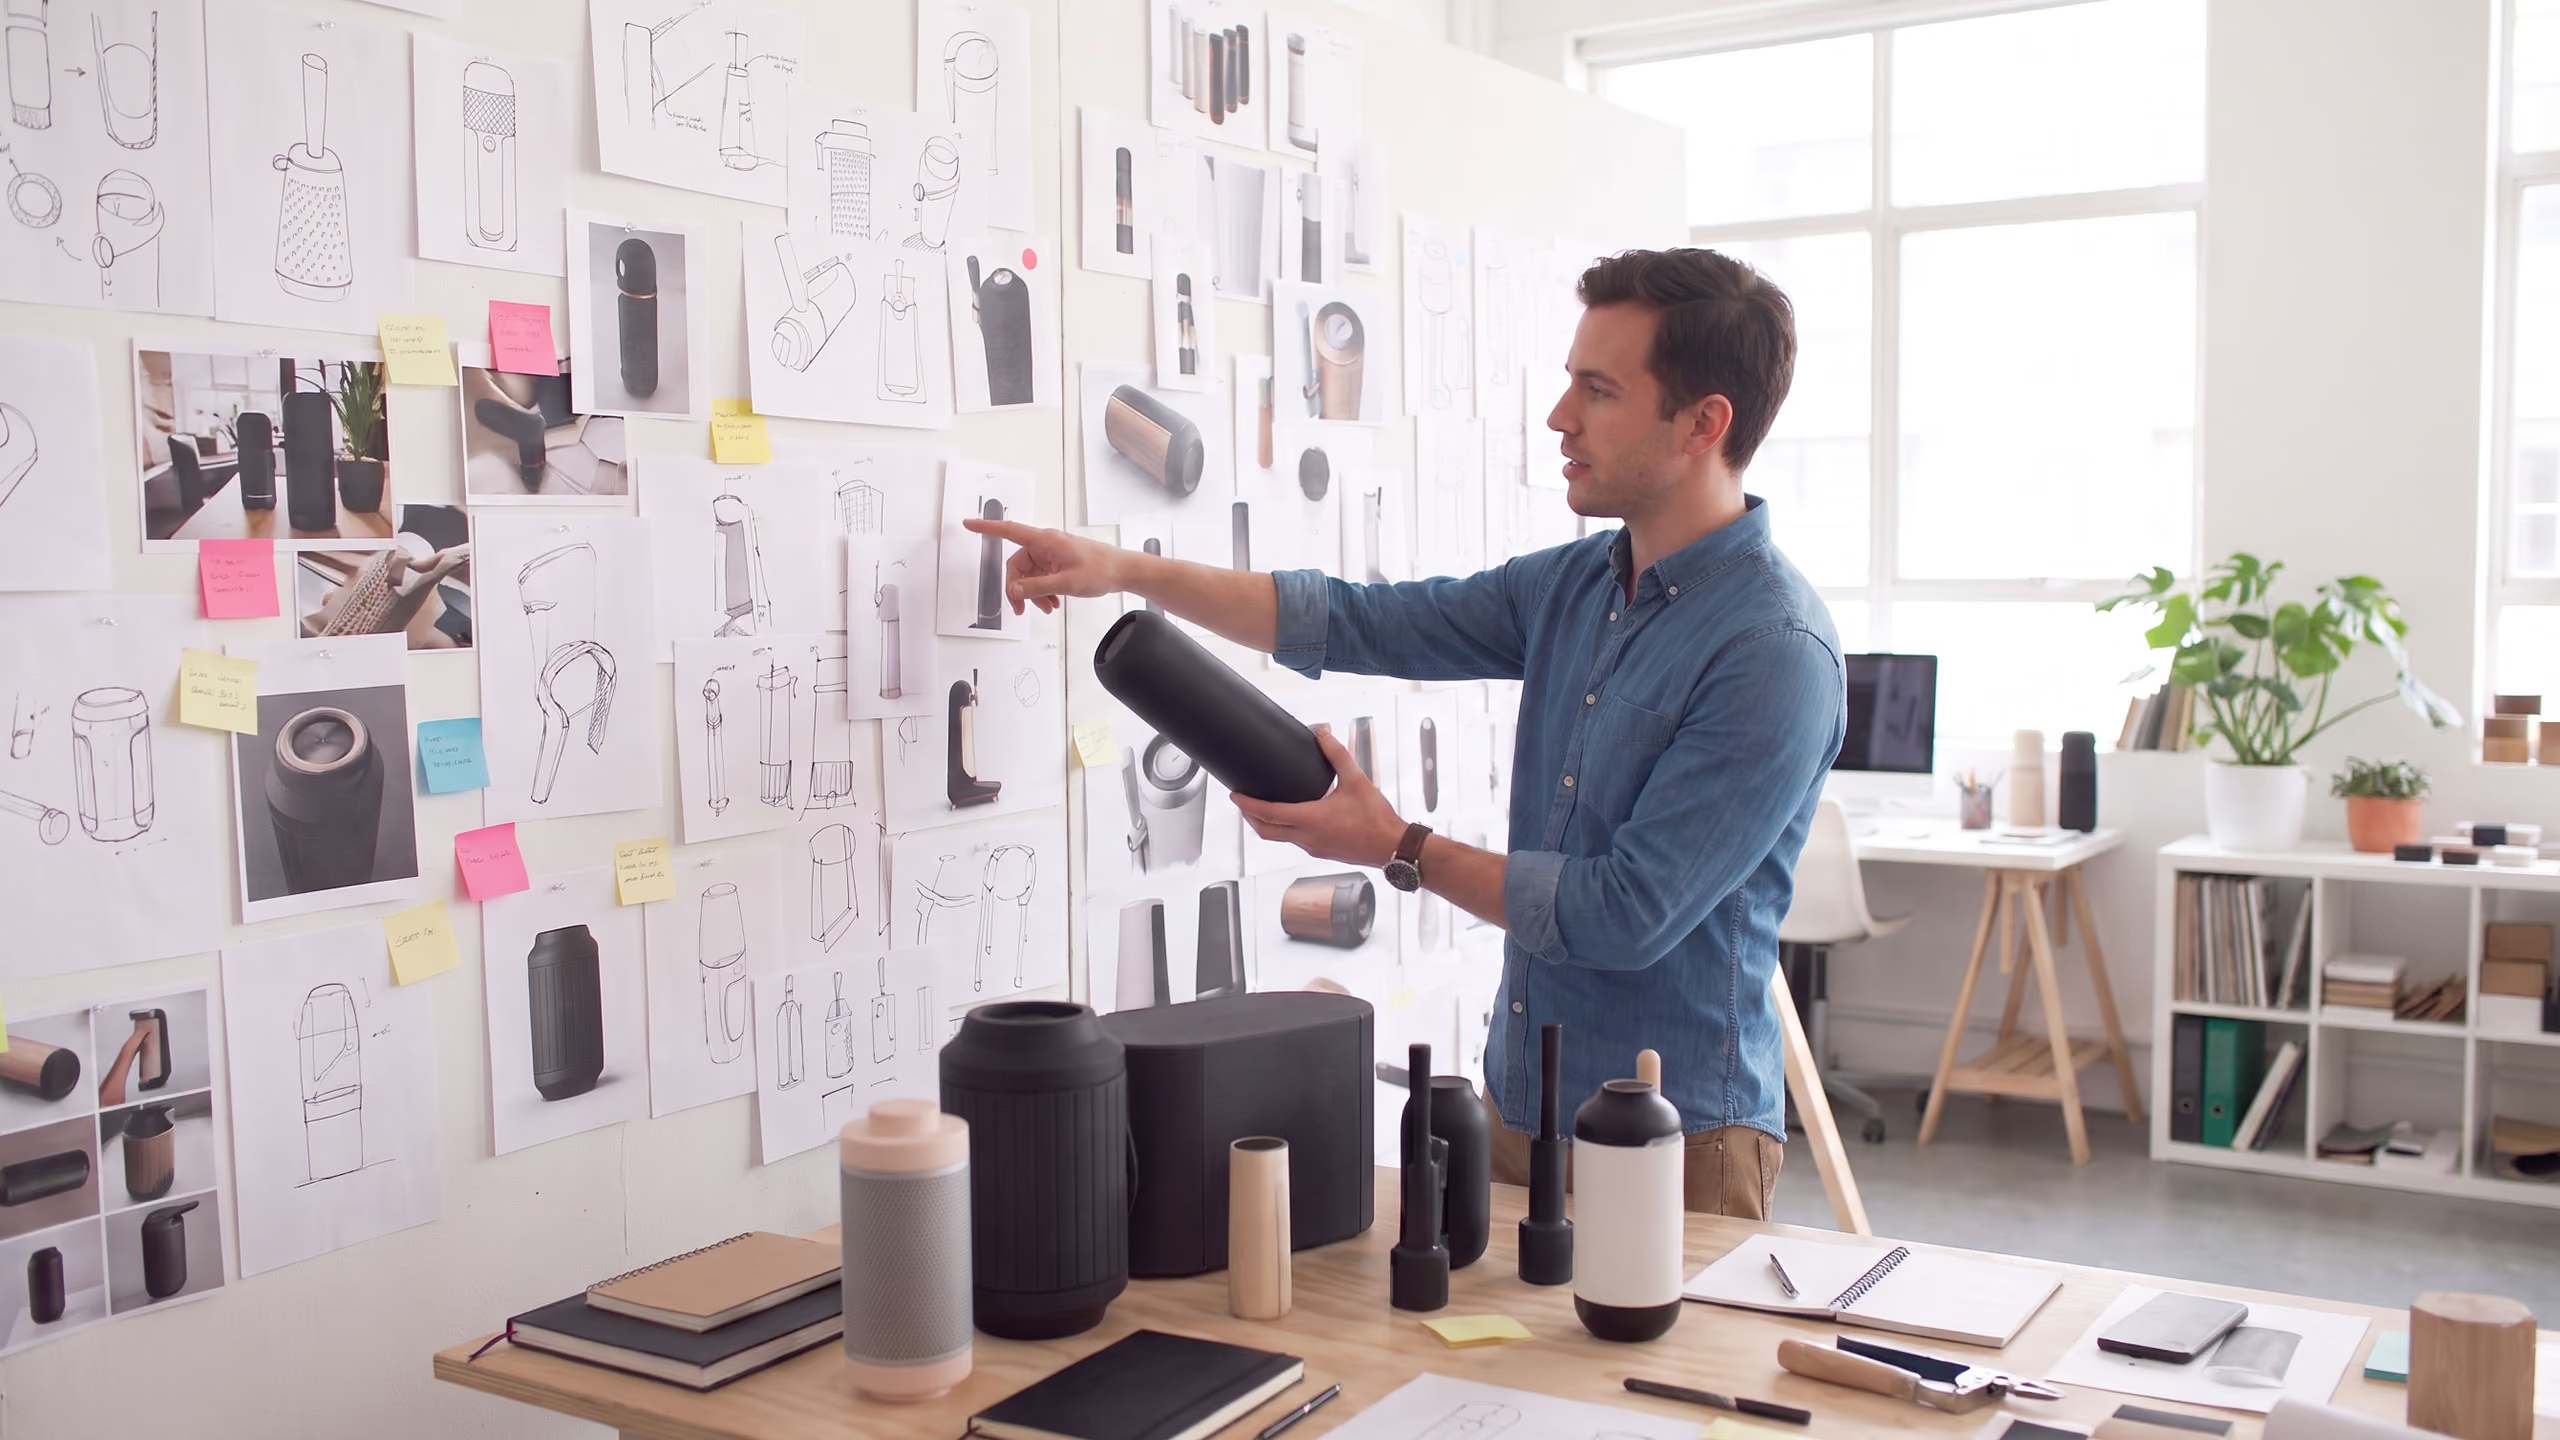
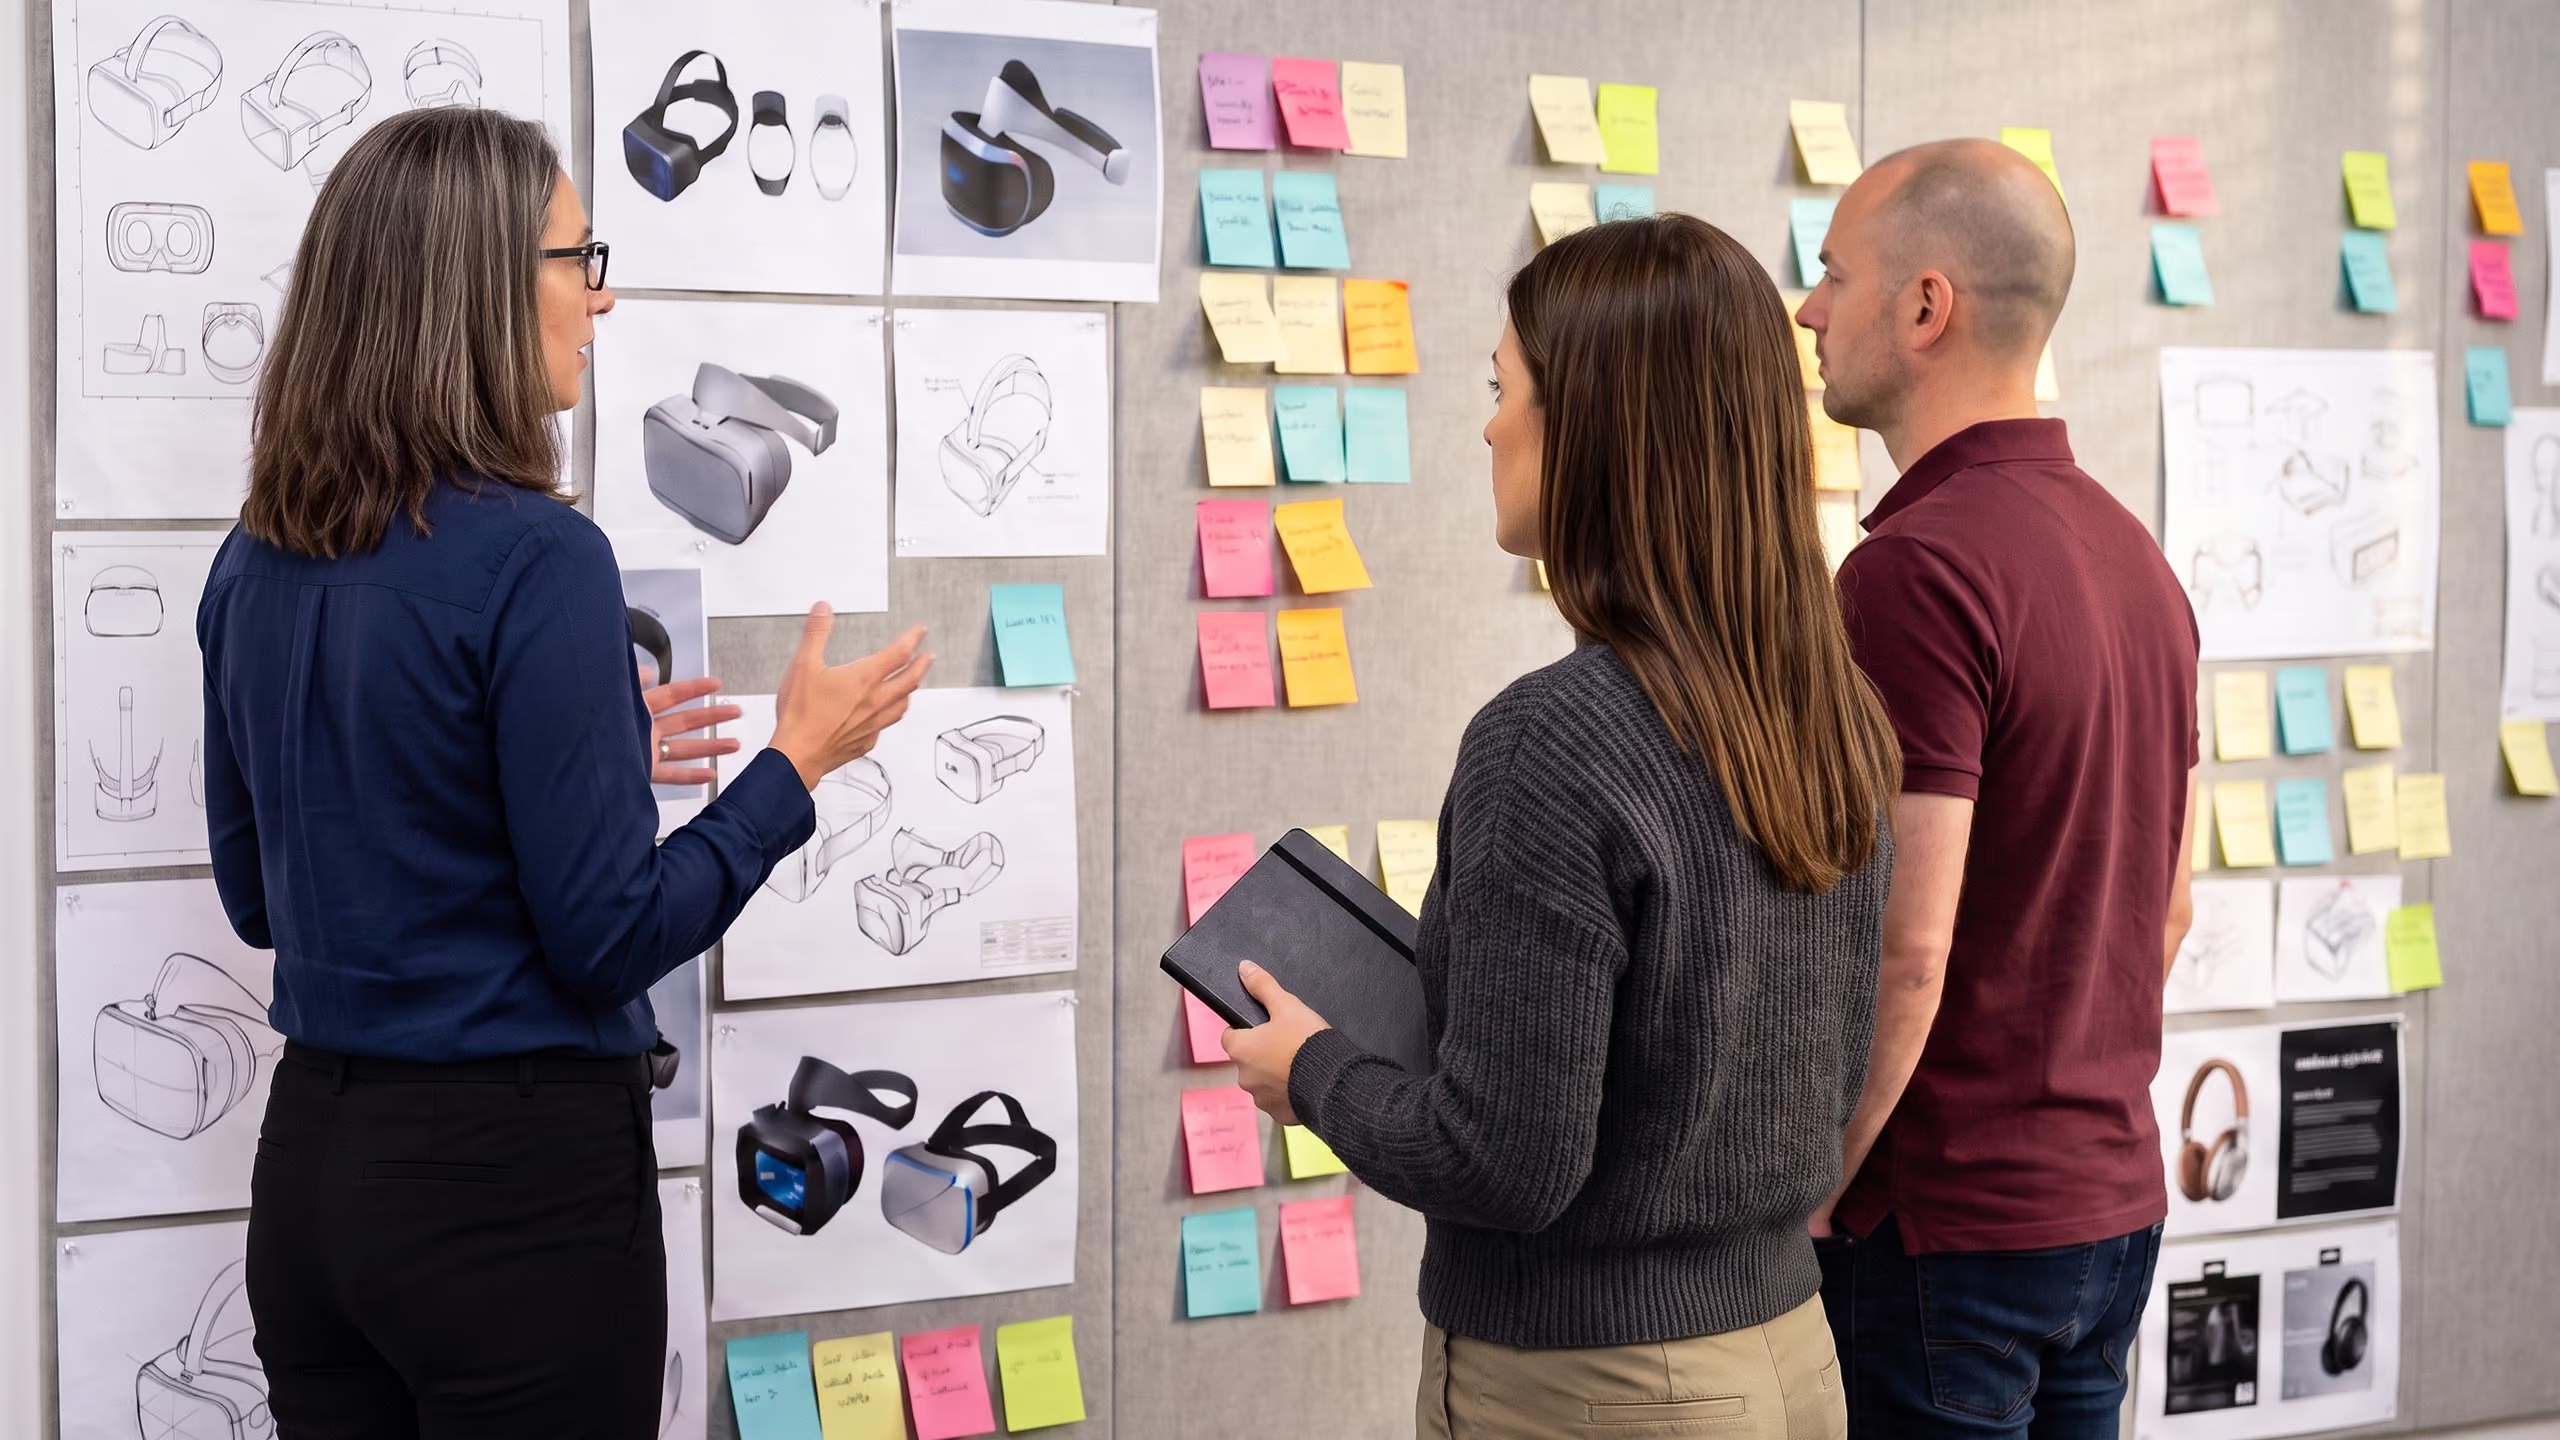
Prototyping is the stage in which a product idea moves from conceptual to physical. Once the concept stage, including research, drawings and CAD modelling are complete, building a prototype to test the design is often the best next step. CAD resolves a significant amount of technical and mechanical detail, but a physical prototype provides the physical, sensory feedback that no screen can deliver.
Key qualities of proportion, weight, functionality, and ergonomics can only be properly evaluated when the product exists in physical form. Whilst it is an expensive phase of the development process, it is also key to preventing costs and timescales from spiralling further down the line.
When to prototype
The best time to prototype is when the design has been developed far enough that the questions being raised are most effectively answered by a physical model. Prototype too early and you risk testing an underdeveloped concept. Prototype too late and problems that could have been resolved cost-effectively, end up surfacing when the cost implications for resolving them are far higher.
There are two scenarios we often see. Sometimes, a client comes to us wanting us to build an advanced prototype, on the assumption that the design is at a good standing point, when no basic prototype has been built at any stage. The advanced prototype then reveals fundamental issues that early, low-cost prototyping would have caught and resolved. On other occasions, a project has a proof-of-concept prototype that demonstrates the idea works, and the assumption is that the hard part is done. The proof-of-principle prototype proves or disproves key functionality, but a long development process and potential further complications still lie between that point and a finished product. Treating the proof-of-principle as more than it is, leads to projects stalling further down the line.
Knowing what type of prototype to develop and when to build them, helps to validate the concept, shortens the design process, and minimises risk, whilst effectively answering key questions that allow the project forward.
Choosing the right level of prototype
The level of prototype, whether it's low or high-fidelity, depends on the questions you need answered, and the purpose of the prototype. Each type carries a different level of cost and outcomes, so these factors matter.
Proof-of-principle and basic prototypes test the core design principles. Does the idea work? Is it feasible? They are relatively inexpensive compared to high-fidelity prototypes, and their value is not limited to the workshop. They can be useful to gain valuable feedback from users, and testing, that enriches the whole design process. These early, low-fidelity models, including volume models, proof-of-principle prototypes and basic prototypes, are covered in detail in our guide to low fidelity prototypes in product design.
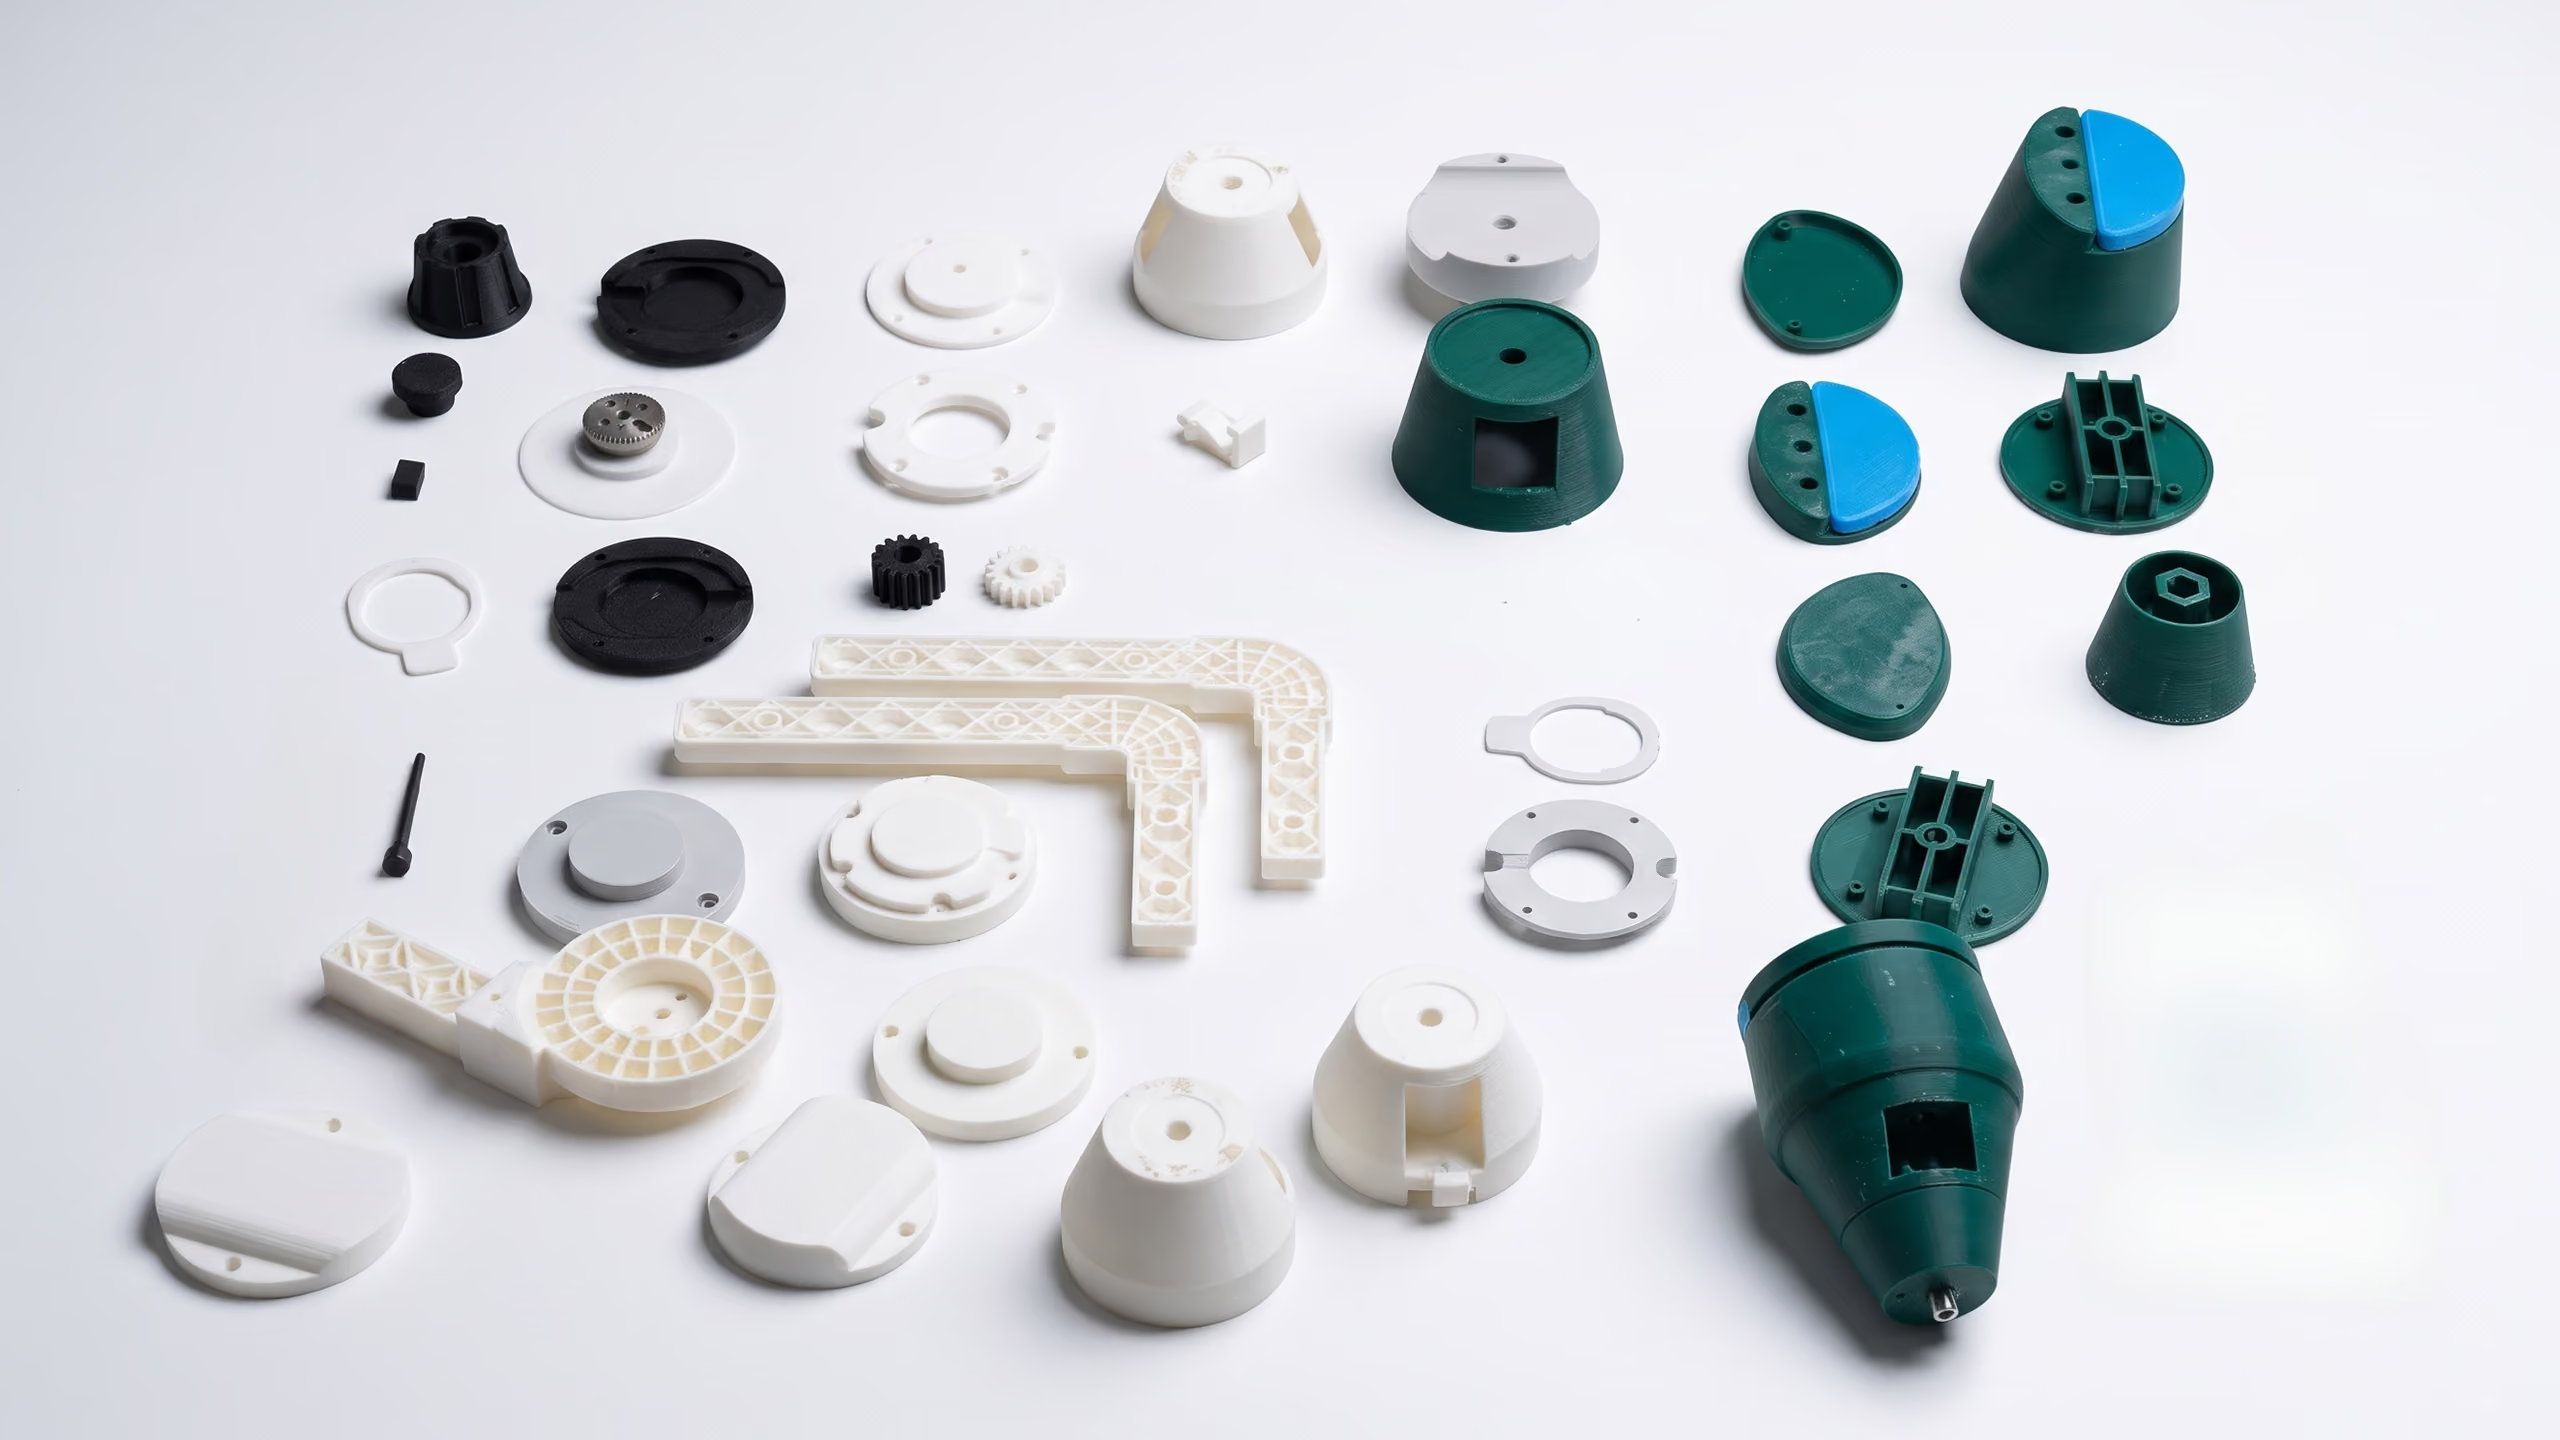
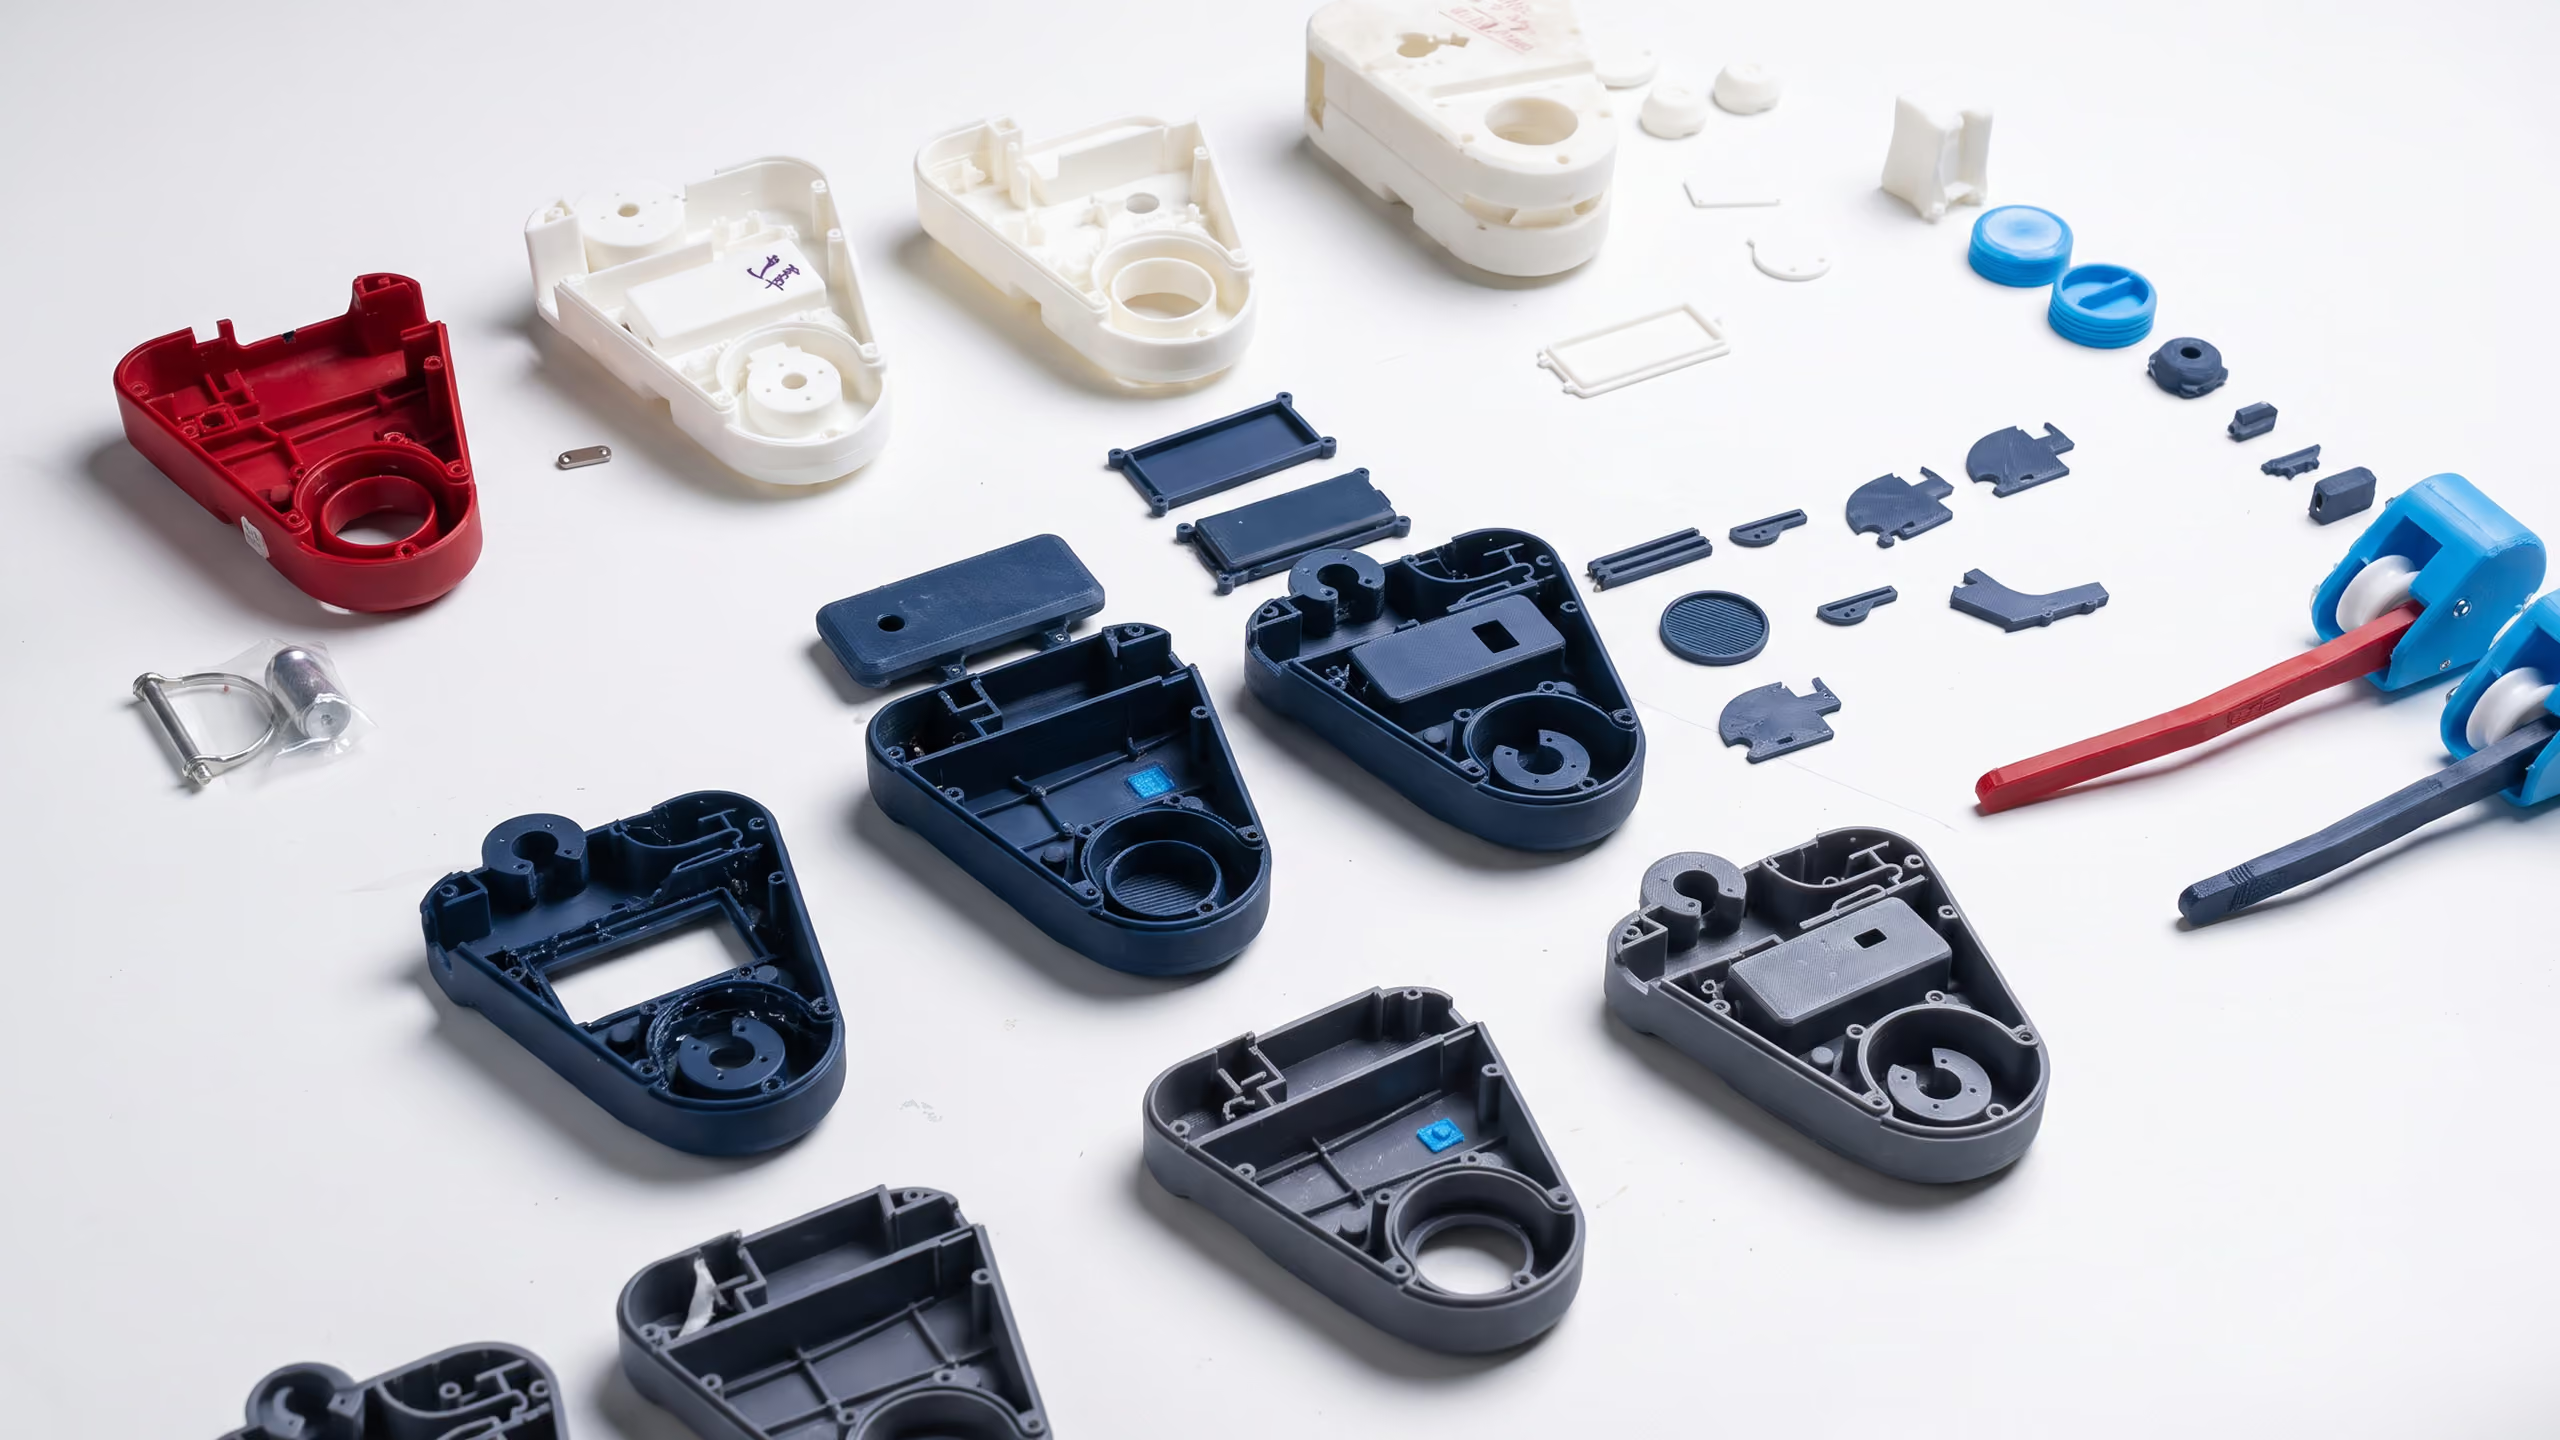
Mark I and high-fidelity prototypes are a different proposition. They get you close to a factory sample without committing to tooling, which allows detailed assessment of colour, material, finish, and functionality, and it gives the factories enough to work from to project manufacturing costs. High-fidelity prototypes in particular focus on the final look and function of the product, which makes them well suited to demonstrations, presentations, and marketing.
Mark I Prototypes
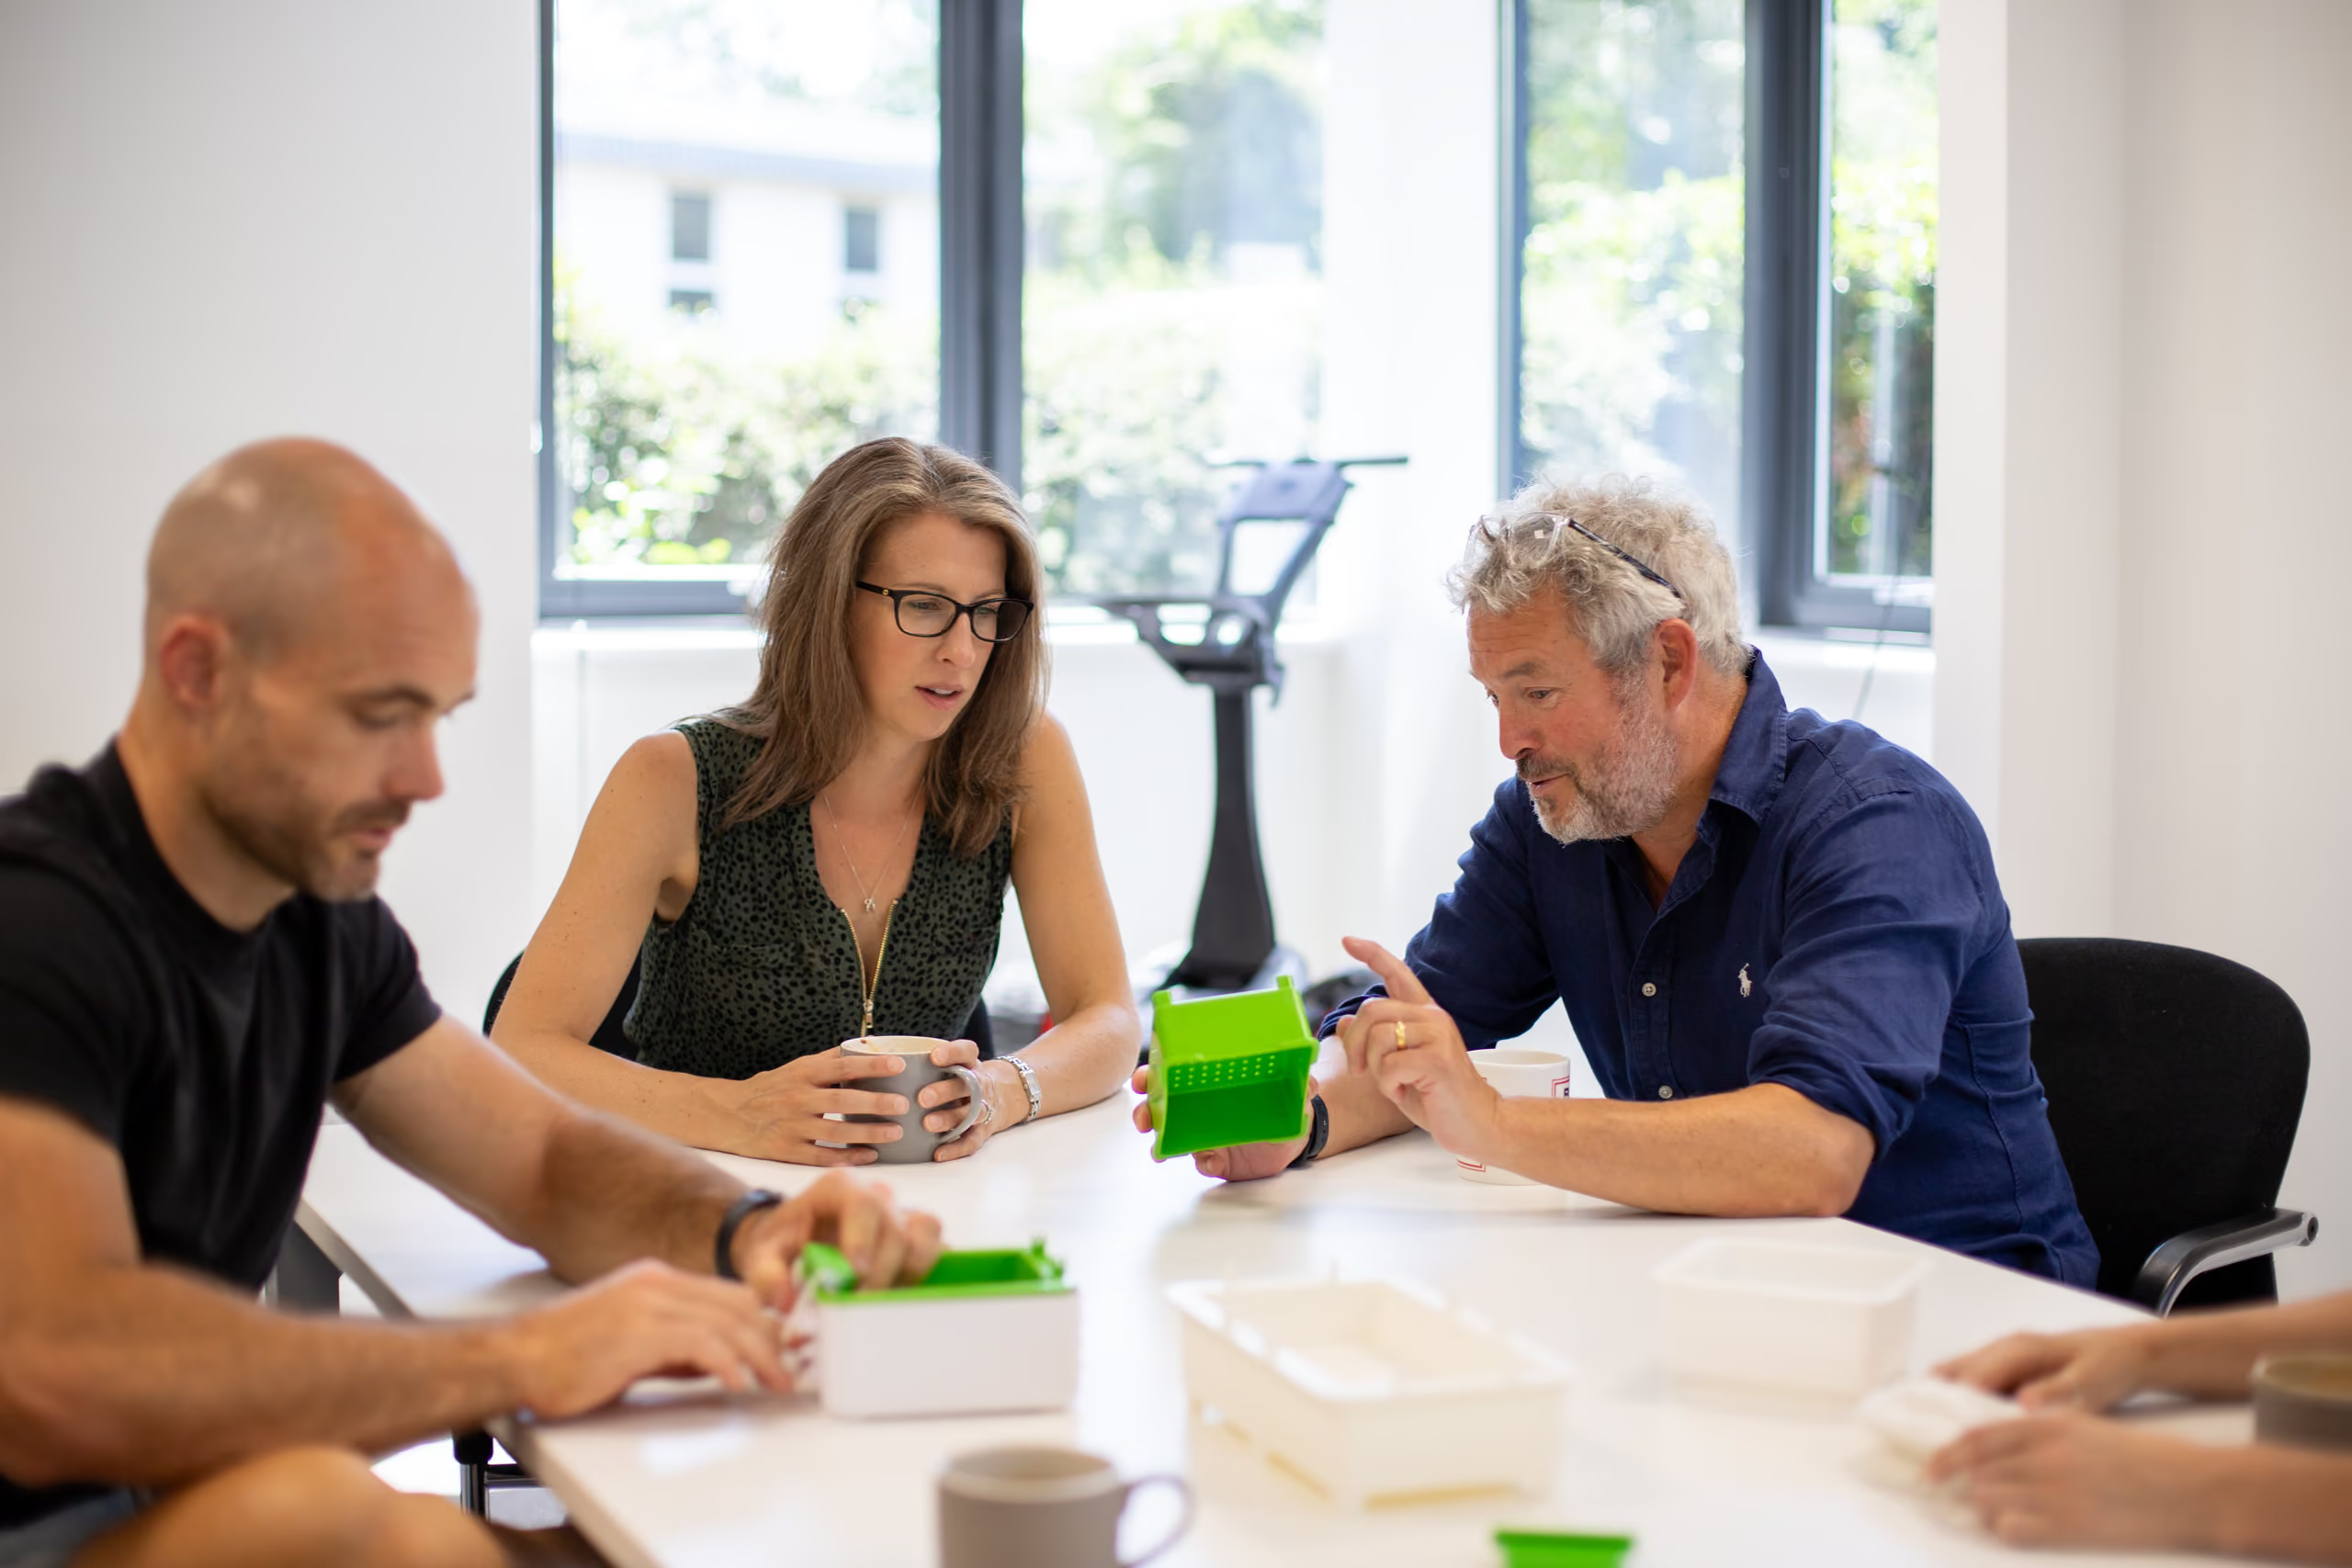
Once the design is set, the CAD model is built, and you need a functional, close to factory level prototype, in your hand to test and evaluate, it is time for a Mark I. This is usually the right point to reach before moving to manufacturing specifications and production quotation. We cover how these standard prototypes are built, and the techniques behind them, in our guide to prototype manufacturing.
Before a Mark I is built, the technical detail and the intended manufacturing process should be resolved. Any unresolved detail will be questioned by the prototyping facility, adding development cost and delays. It is equally important to define the reason for the prototype and what you expect it to tell you before committing to it.
Intellectual property tends to become a consideration at this stage, since prototyping usually involves third parties for the first time, but in practice it is rarely an obstacle. NDAs are generally in place before any data is shared and the information is kept within a close circle. Parts are often sourced from different third parties as well, and not assembled until they are in the workshop, so it's often possible to build the prototype without revealing the product to anyone else.
A Mark I should resolve all the functionality questions. It should give you a sound understanding of volume, size, weight and operation, and of how the product actually works in use. What it will not give you is the durability of a factory sample, so it is not suited to stress testing. Nor will it carry a perfect colour, material and finish, as rapid prototyping technology still has its limits. Ideally a Mark I prototype should get you around 85% of the way there.
Iterations and direction change
Whilst iteration is often required in new product development, at D2M we aim for as few iterations as possible. We would usually recommend a minimum viable product (MVP) approach, to minimise complexity and therefore risk, as the soundest way to bring a product to market. If a major direction change or additional functionality is desired after building a Mark I prototype, it can lead to costly re-development and an extended prototyping phase. It's important to define the scope fully before the design process moves beyond the concept phase. Early, low-fidelity prototypes also play a crucial role in preventing costly, iterative prototyping later on. Having said that, products with electronics usually require several rounds of iteration and testing (we would expect there to be two to three iterations on a complex project). The best results are produced if these are clearly defined and well executed.
When a prototype tells you to stop
Sometimes a prototype reveals something that could not be seen during concept development or the CAD stage. If it fundamentally challenges the core idea of the product, the right response is to take it as a lesson learned cheaply. Pushing forward from that point usually ends in lost time and resource.
However, if the prototype reveals constraints rather than pushbacks, pivoting to a different solution can save the project. The ability to pivot the project in a new direction relies on the skill and experience of the design team and clear communication between everyone involved. Set the scope correctly, share it with all parties, and keep the priorities straight. Your designer is working in your interest, to deliver the best design and should always be transparent when hurdles are discovered.
A prototype is not a product
Prototyping technology has advanced to the point where it is now sometimes used as the final manufacturing process. Even so, it's important to remember that a prototype is not a product. Prototype materials are generally weaker than production parts, they cannot be mass manufactured, and their finish does not match that of a final product. It is often the case that the processes used to build a prototype (3D printing, CNC, laser cutting, vacuum casting etc.) are costly and wouldn't be commercially viable for mass production. Further design refinement, prototyping and testing is often required before the product is ready for production. When the design is proven and ready to move on, the next stage is covered in our pillar on manufacturing a new product idea to production.
How D2M can help
Most of the value in prototyping comes from getting two things right: what to build, and when. That judgement is what we bring to a project. Clients come to us at every stage, some with little more than a concept, others with CAD and earlier prototypes already in hand, and the first thing we do is work out which prototype the project actually needs next, and what it has to prove, before anything is built.
Where a design needs work before it can be prototyped, we resolve it, reworking under-resolved geometry, adding the detail that has not been considered, and revisiting material or process decisions that add cost without adding value. This is targeted work rather than a redesign, aimed at the specific issues that stand between the current design and a prototype worth building. We are straightforward about what that involves before we start, and if the issues run deep enough to need a fuller development process, we say so at the outset.
We build most of our prototypes in-house, in our own workshop and 3D print room, which keeps the work fast and close to the design and lets us troubleshoot problems as they arise. Alongside that we draw on a network of prototyping and production facilities across four continents, so the method and materials can be matched to what each prototype needs to demonstrate. Because the same team carries the work from design through prototyping and on toward manufacture, the prototype is built with production already in mind, which is what stops the expensive surprises appearing later.
The outcome we work towards is a prototype that answers the questions that matter, reflects the design accurately, and gives you the evidence to make the next decision clearly, whether that is testing with users, presenting to investors, or committing to tooling with confidence.
See it in practice: Stewart Golf R1 · Inorlo ShapeShifter