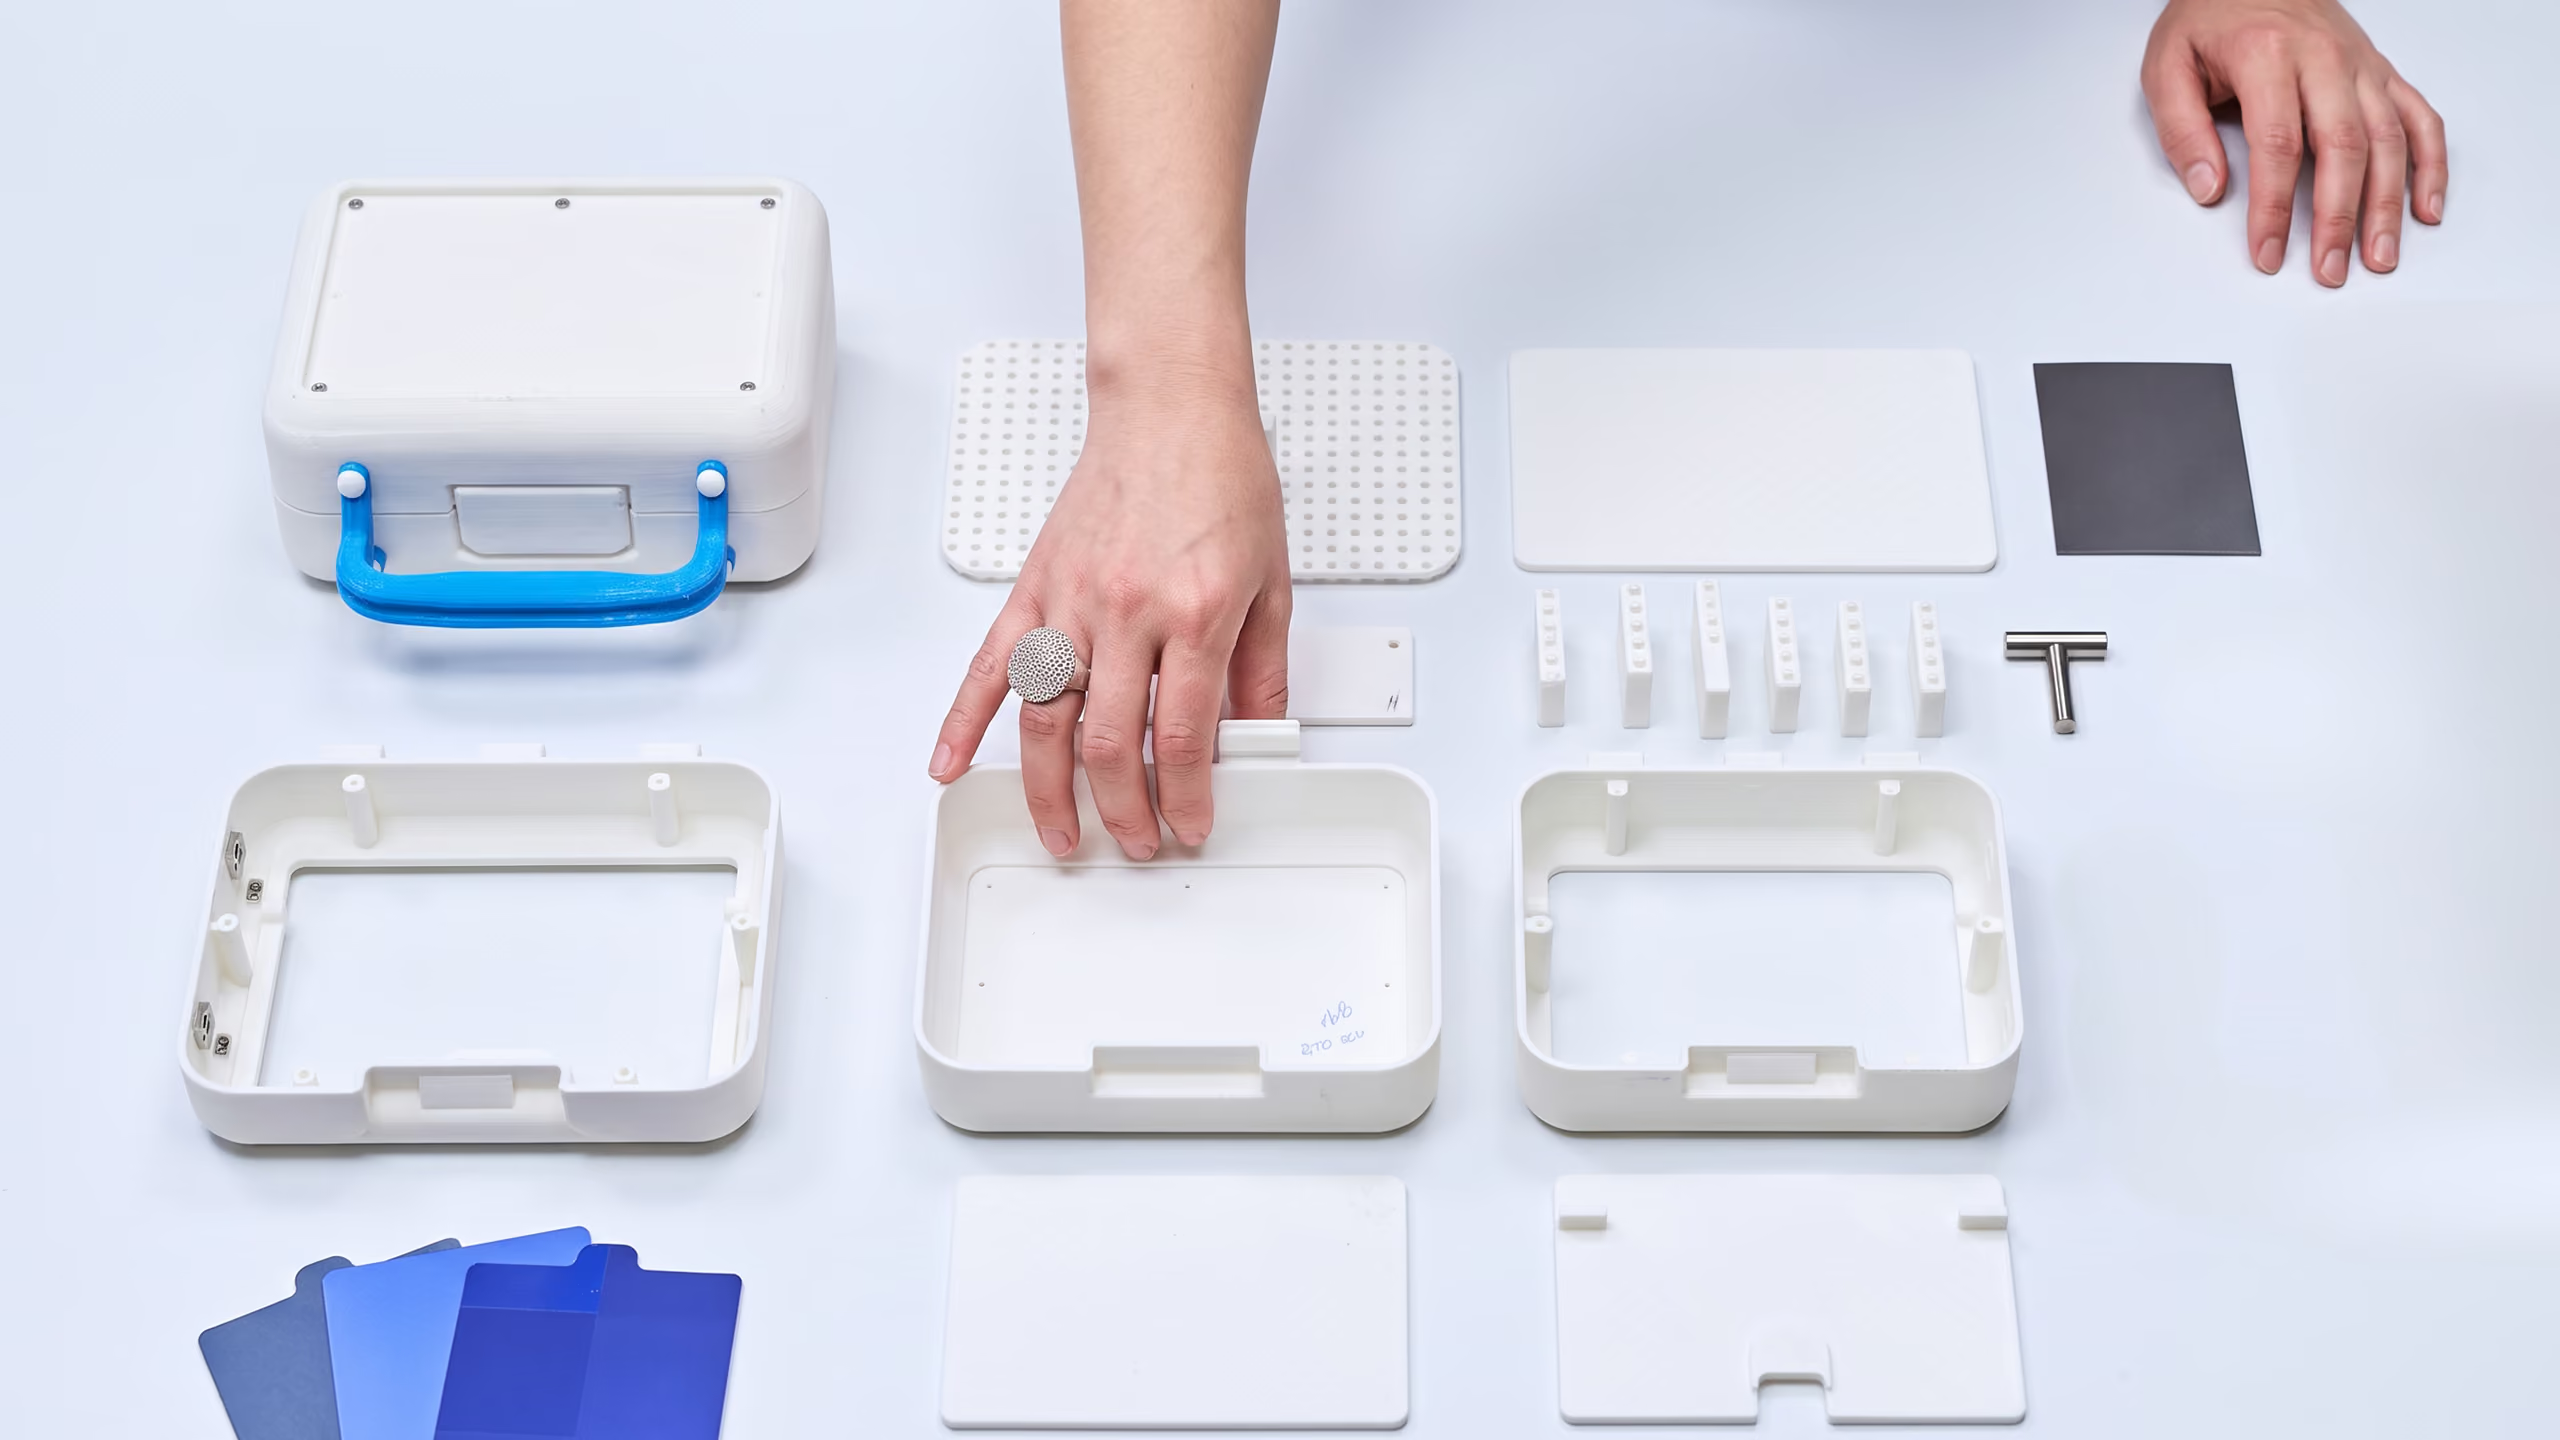
A prototype is the point at which a product concept becomes something you can hold. This guide focuses on the standard Mark 1 prototype, the level D2M builds most often, which sits above rough proof-of-principle models and below high-fidelity ones. It covers when you need one, how it is actually made, and why a well-timed prototype takes cost and risk out of the road to production.
A prototype is a tangible, physical model of a developed design. The word covers a great deal, from digital prototypes to physical ones, but our subject here is the physical prototype: the point at which a product concept becomes something you can hold. Prototypes vary in complexity and purpose, but at their simplest they are the physical version of an idea.
A prototype is generally required once a design has progressed to the point where physical and visual assessment is needed to move forward. Prototyping usually comes after concept development and the related early stages of viability, and before manufacturing specifications and production. In this article we are focusing on the standard, Mark 1 Prototypes we love to build at D2M, which sit above low fidelity, basic and proof of principle prototypes, and below high fidelity and advanced CMF prototypes. We look in particular at when you need one, what function they perform and how to get them made.
Defining different prototyping levels
To talk clearly about Mark 1 Prototypes, it helps to briefly define the other prototype levels, which sit either side of a Mark 1.
Low Fidelity Prototypes are early prototypes, usually built to test an idea, which is why they are also sometimes called Proof of Principle. They usually answer a single critical question, such as: will a specific mechanism work, or will this be strong enough, in order to validate an idea. Low fidelity prototypes are rough and not fully defined, made from basic materials, off the shelf (OTS) or 3D printed parts or donor products that can be cheaply and easily located.
High Fidelity Prototypes sit at the other end of the scale. They are usually developed to present or demonstrate the product, mimicking production aesthetics and function, without committing to factory tooling and production. Parts are usually high quality 3D prints, CNC machined or vacuum cast, with prototype electronics (if applicable). They can be costly, because they take considerable labour and can be expensive due to the manufacturing methods required for one-off parts, but High-Fidelity Prototypes are very useful for consumer testing, raising investment, marketing and assessing retail interest.
Standard Mark 1 Prototypes sit between the two, and we'll talk about them more in the rest of this article.
When is a prototype needed?
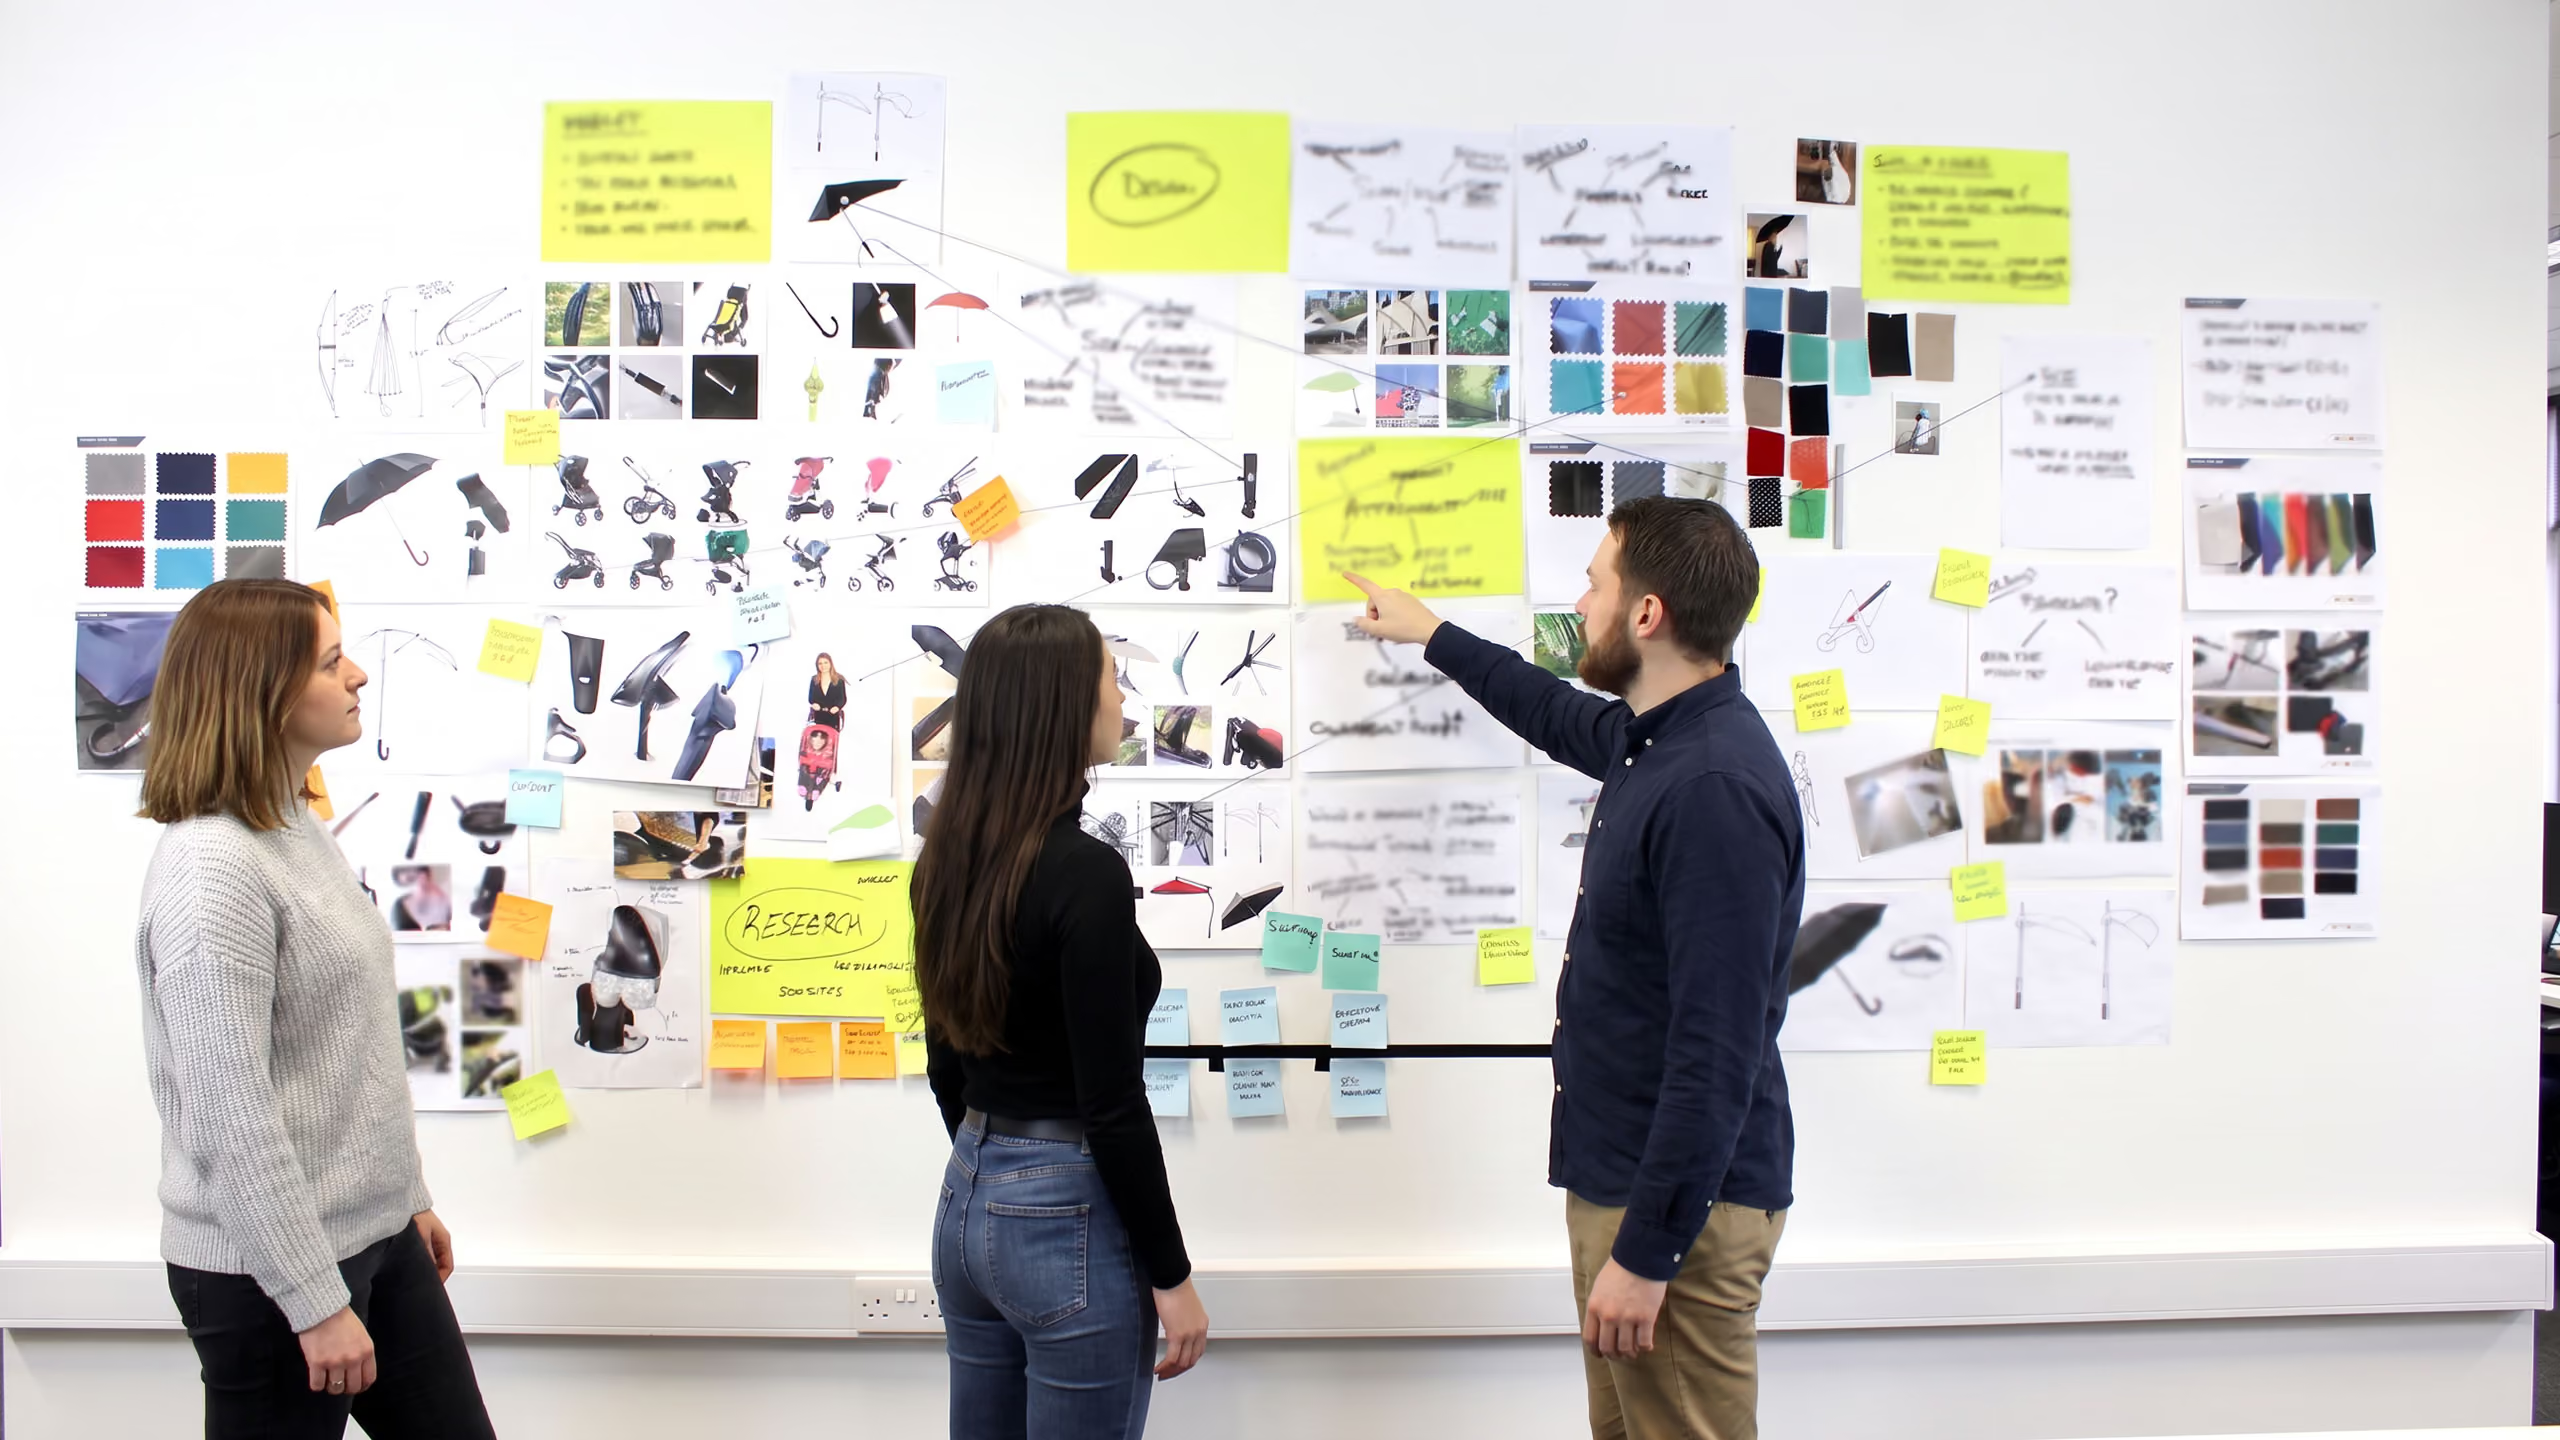
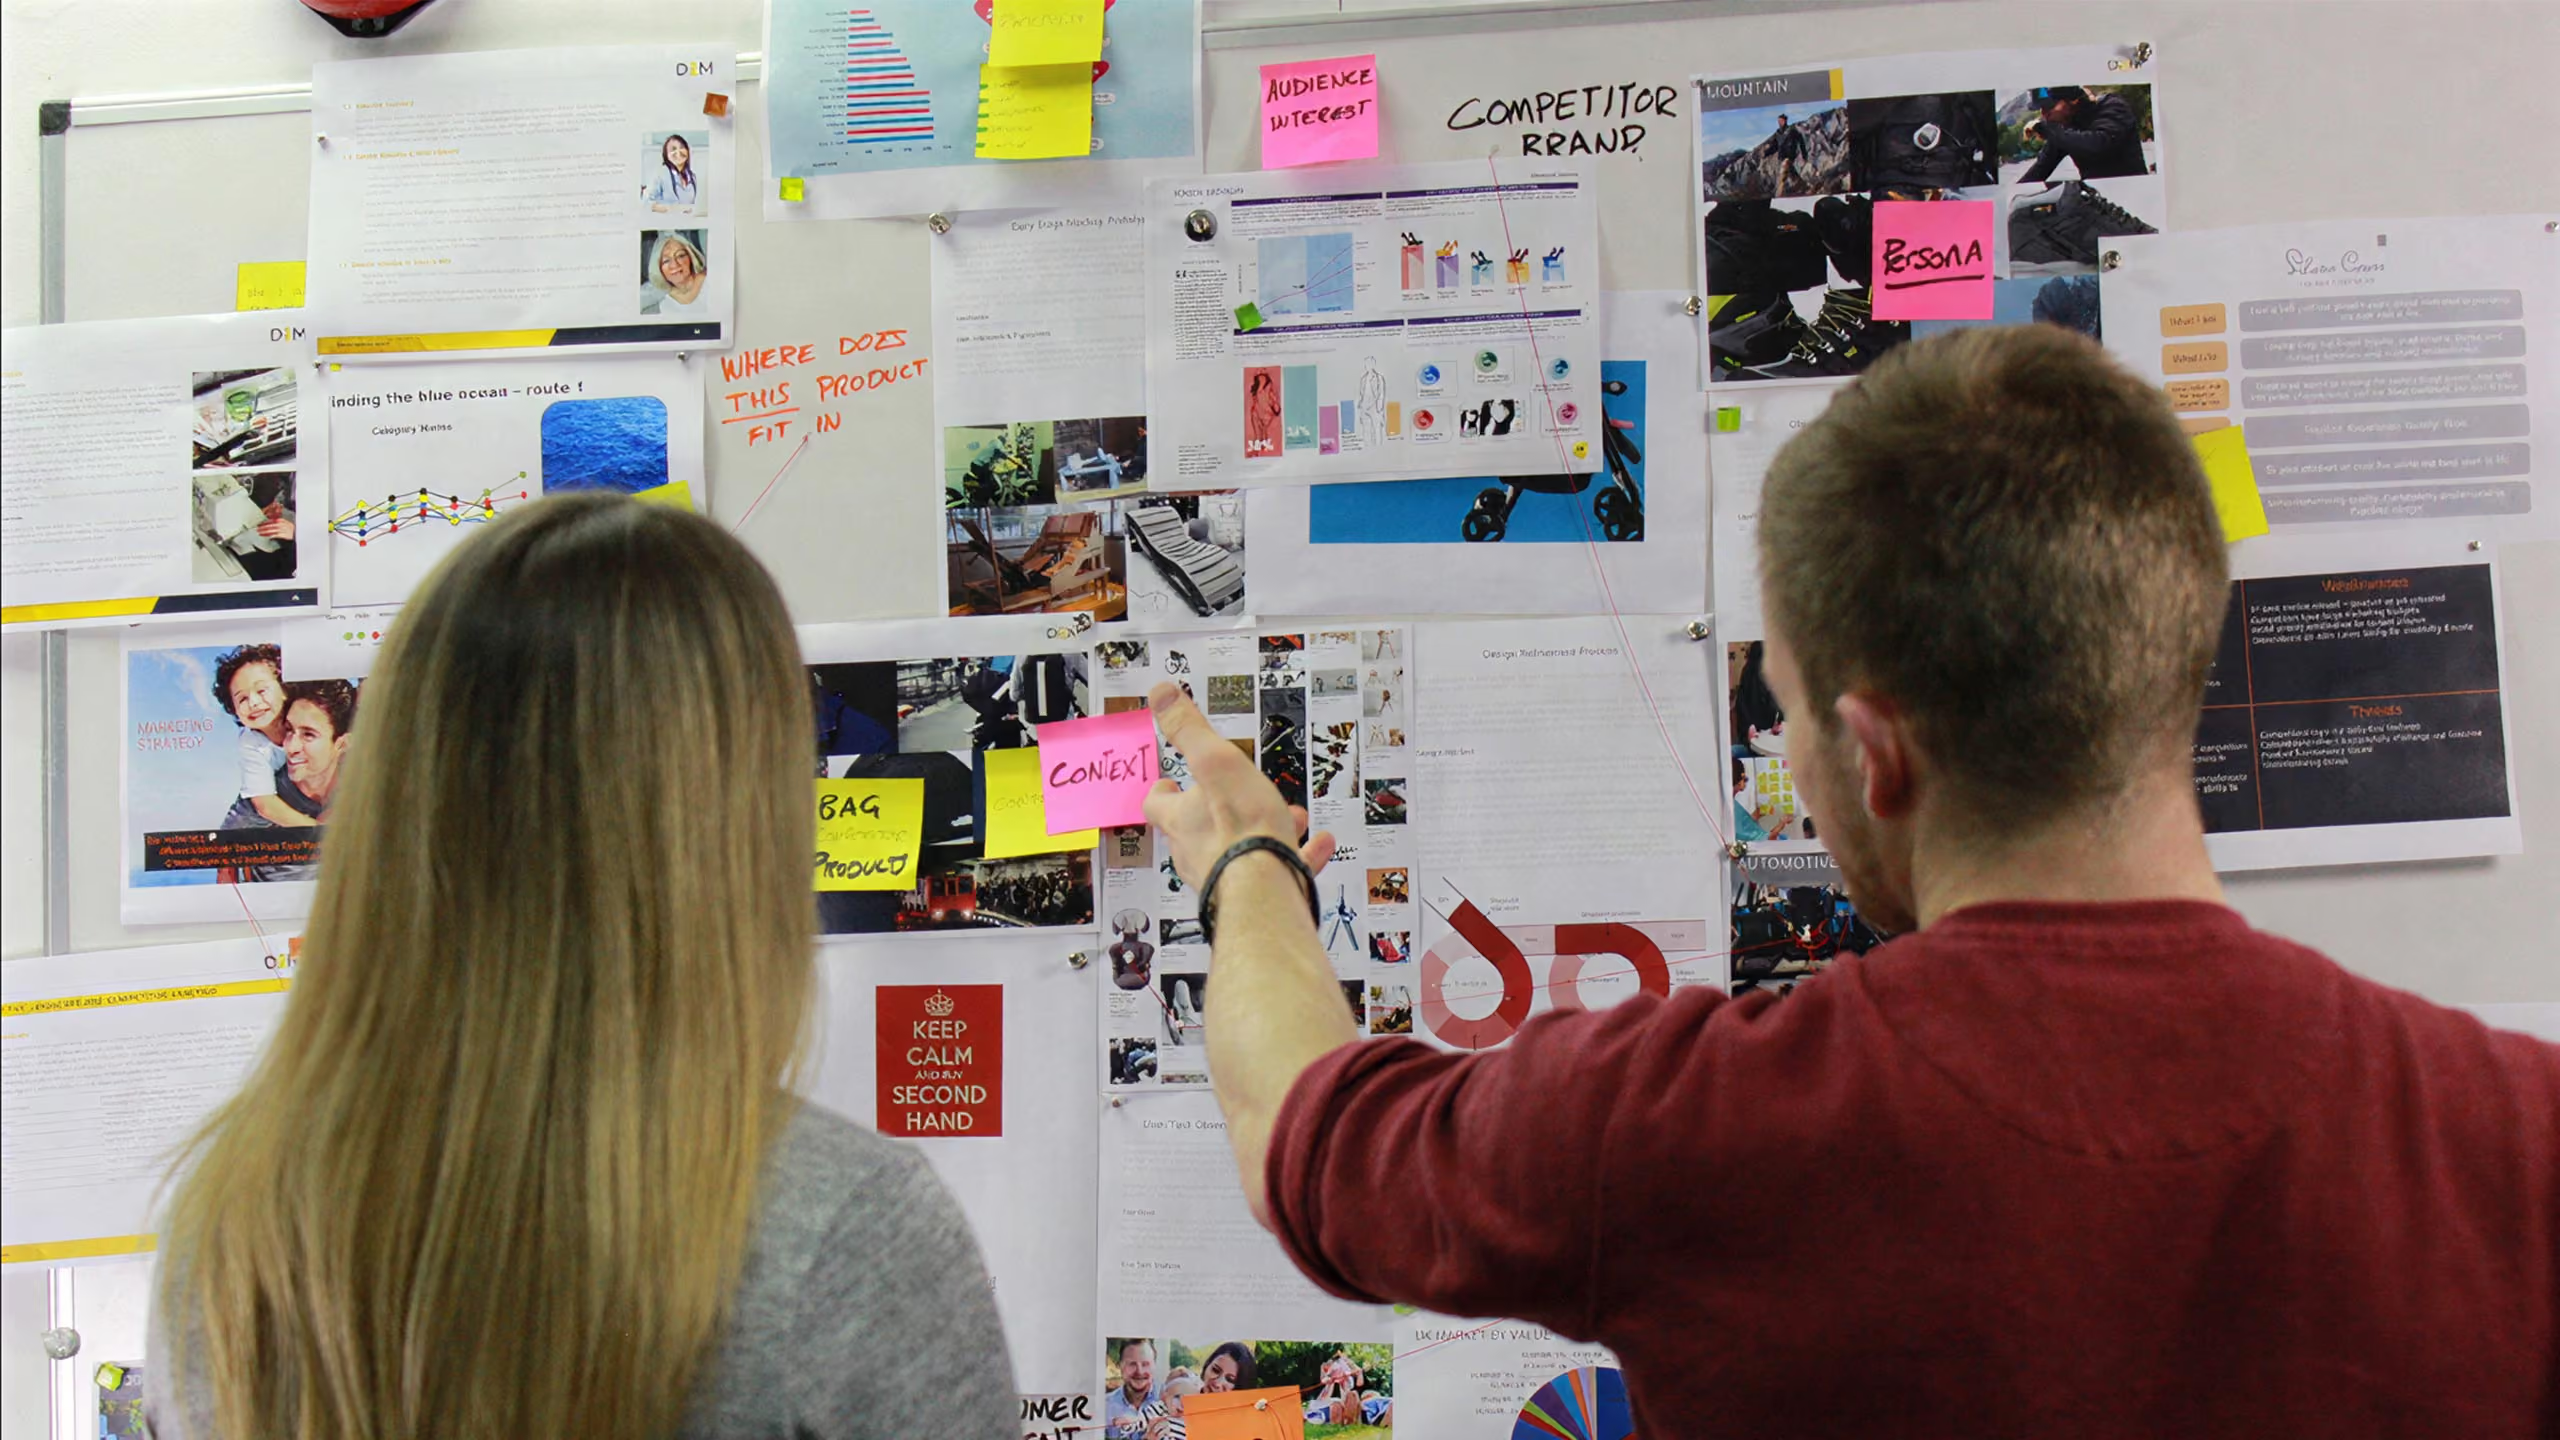
There needs to be a properly defined, worked-through concept design and initial CAD models (where required) in hand, before committing to a prototype build. Without a solid concept, you can end up stuck in a cycle of iterative prototyping. It's a balancing act between redefining the concept endlessly without progressing into the prototyping phase, but it's good not to jump until you're sure the concept is good. One direction is wasteful, the other causes stagnation. If the concept is refined enough that the design features are around 70% defined, it is almost always more beneficial to move to a Mark 1. It allows you to validate your design decisions, and change direction early if you hit a technical roadblock, ergonomic issue or a manufacturing constraint. This type of prototype provides incredibly valuable feedback about the concept and often reveals issues that are virtually impossible to spot on a drawing or CAD model.
How a prototype is actually made
A well defined CAD model needs to be developed before moving to the prototype stage. D2M supports clients with a custom Design for Prototype (DFP) stage specifically to meet this requirement. Once the dimensions and technical details are defined in a model, and other parts like springs, o-rings and magnets have been sourced, there are several directions to choose from.
One of the most preferred methods is FDM, or Fused Deposition Modelling. 3D printing is a relatively new, but rapidly improving technology, that is incredibly useful for initial prototyping. It is low cost and can be tailored to the project requirements, with no costly tooling involved. Its limitations are colour (unless you specifically request paint application) and material, since you are restricted to what FDM can produce. FDM holds a good manufacturing tolerance, but if you need something finer and more detailed, SLA, or Stereolithography, is the way to go. SLA uses high-precision resins and can achieve tolerances as low as 0.02mm, which is ideal for testing interference fits and very small details. Beyond these, there are other additive methods suited to different needs, including SLS (Selective Laser Sintering), MJF (Multi Jet Fusion) and WJP (Wax Jet Printing), each offering their own balance of material properties, detail and durability.
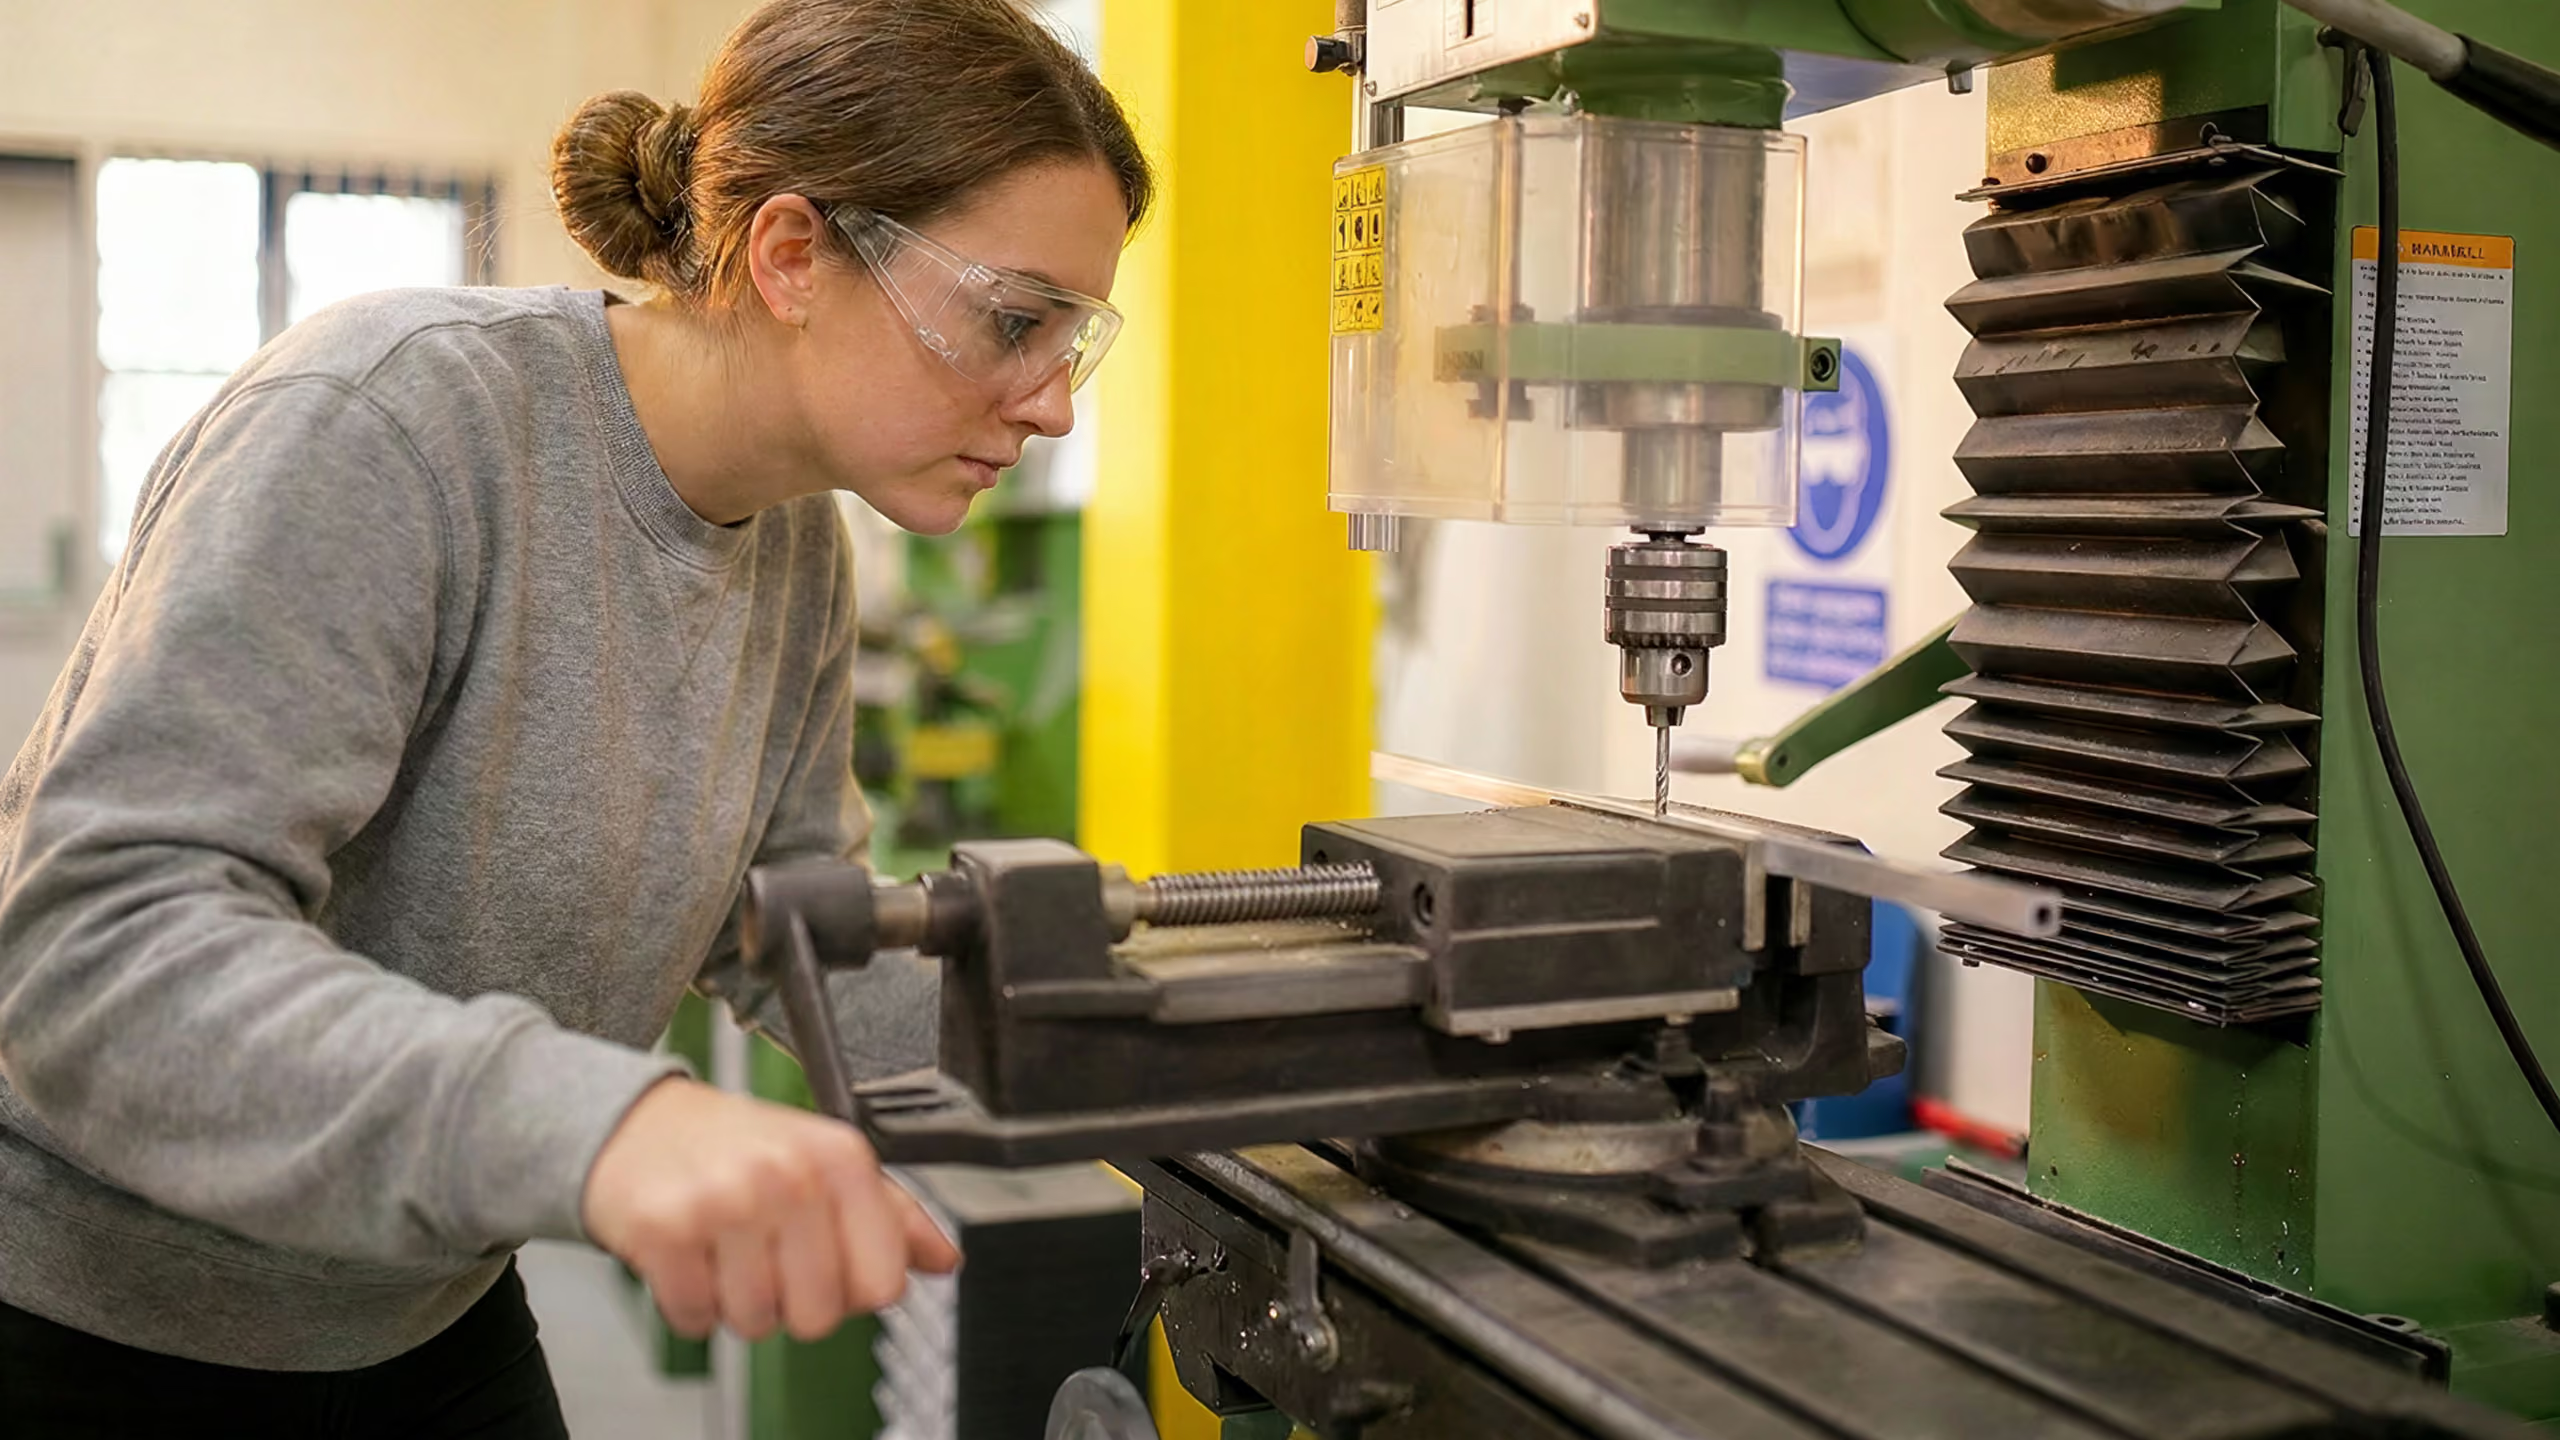
CNC machining is another common prototyping method, where parts are machined from a block of the chosen material. As wasteful as that sounds, it can use fewer resources overall, since it enables you to produce the part in the correct material once rather than making five prototypes to get close with other technologies. For metal parts, additive methods such as SLM (Selective Laser Melting) and BJ (Binder Jetting) are also available, building components directly in metal where machining is not the best route. Another process the design team at D2M regularly utilise is vacuum casting. It allows low-batch production (up to about 20 units) of parts nearly as complex as injection moulded ones, with a range of materials that closely mimic injection-moulding properties, the resulting prototype is close to the finished product's material and finish, with considerably lower tooling costs. Its one downside is tooling that degrades after a minimal usage.
These are the go-to prototype manufacturing techniques, and they are often used in combination to build parts for a single product prototype. Each technique behaves differently, and carries its own advantages and limitations in the physical and chemical properties of the result, when compared with production. None matches the finished product exactly, but every one gives you valuable feedback. Which technique is right comes down to the purpose of the prototype and the questions you're trying to answer.
D2M works with a hybrid system for prototyping. We manufacture most of our prototypes in-house in our well-equipped workshop and 3D print room, which gives us a real advantage in speed and efficiency and lets us troubleshoot design problems quickly. Alongside that, we draw on a broad network of prototyping and production facilities across four continents, which we continue to expand. Your designer will advise you on the best prototyping methods for your product and the cost implications of each route.
What prototyping achieves, and why it's worth the cost
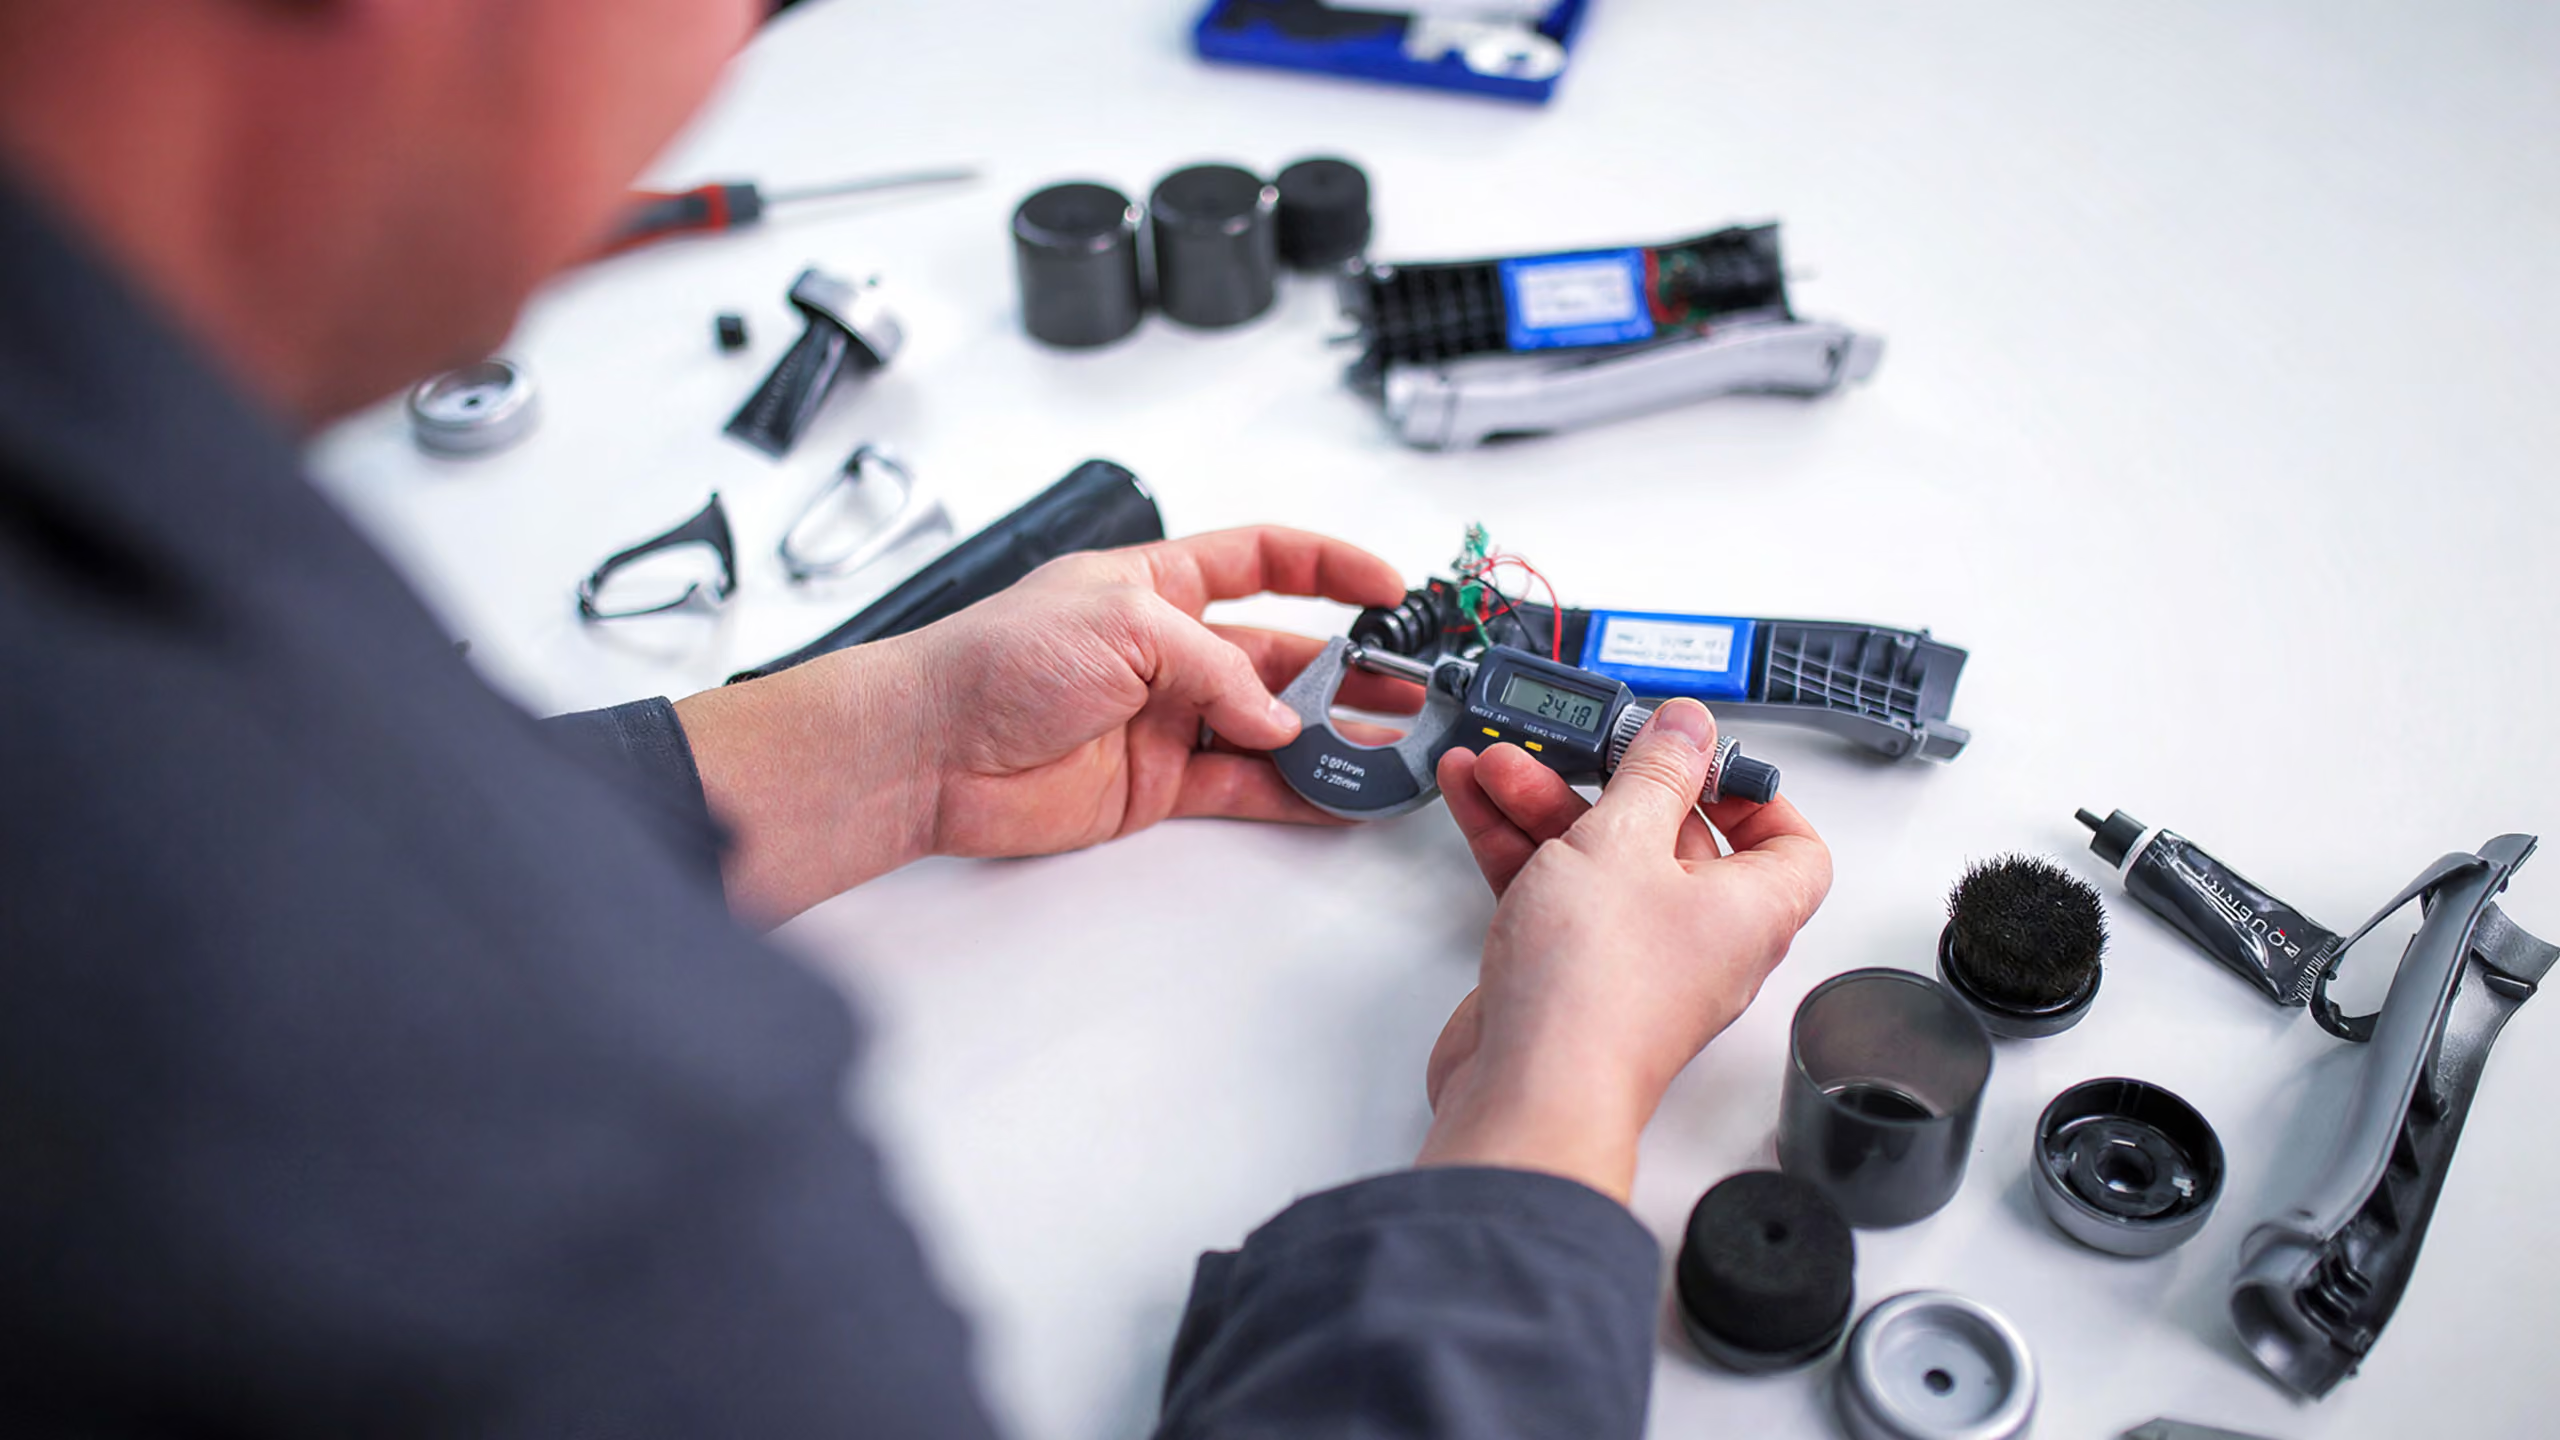
A prototype allows all of the design input so far to be validated. CAD development is essential, but it does not replace holding a prototype in your hand, seeing it, and testing it for real. Using the prototype in context and a real-world scenario does more than validate the design input. It lets everyone involved see what lies beyond the prototype as a product: what could be done better, what could be improved and refined, and often what the next iteration or the product should be.
This is what a tangible prototype gives you that CAD and renders cannot. The perception of volume and ergonomics, how the product looks in its context, and whether that works, can only be assessed properly with a prototype in hand. The single most valuable thing a Mark 1 Prototype tells you is whether your planned design features actually work, and whether the product functions the way you designed it to.
Because a prototype is a milestone, it sometimes forces significant change, not only to the design direction but to the project itself. In development that is not backed by design or user research, an idea that seemed like the ideal solution can reveal key issues once it is tested as a prototype.
Sometimes the prototype reveals a completely new way of developing the product, and the current design is set aside to pursue a better one. In the worst case, the prototype shows that the product will not achieve the expected result or function as planned for its users. A well-positioned, defined prototype stage lets you see more than the design, enabling you to validate the assumptions behind it. If that validation fails, it minimises your risk, stopping you from investing time and money in the wrong direction, and saving you from costly, flawed production.
How prototyping removes risk
If you consider the whole product development process, commercial production is around a third of the total cost (sometimes more), and it is a bulk cost, usually requiring early investment in tooling and moulds. Investing in tooling or production is risky, without a properly defined prototype. The prototype stage lets you refine the design, eliminate flaws, and make sure it is good enough for commercial production, so costly changes aren't required during the tooling, production or assembly phase.
A well-made prototype lets you assess the design features properly. Will the product function as expected, in the planned scenarios, for the target users? These questions get answered. It reveals the faults and the less-than-brilliant parts of a design that need improving, details that often do not show up until the product is properly prototyped. It also lowers the risk in prototype execution itself, because it guides the factory on what is expected of the final outcome, enabling a thorough conversation and a better shared understanding of a complex design.
Skipping the prototype and committing to tooling is possible, at your own risk. If you believe the CAD model has given you enough to invest in tooling, you can move forward. But there will be a grey area where the factory's interpretation and execution has to be handled carefully, and a high probability that you will be surprised when the product does not look or feel the way it did on screen. We do not advise moving to production without a prototype, unless the design can only be produced at factory level and is not suitable for prototyping. Even then, we would recommend soft tooling such as vacuum casting in the first instance, to confirm the design without incurring full tooling costs.
In summary
Prototyping validates the design as a whole and acts as a milestone and a checkpoint, confirming the process is moving as planned. Built carefully and actioned at the right time, prototyping reduces risk and saves resources. It is one of the most critical points in the product development process, and understanding its value is often the difference between a product that reaches the market and one that fails on the way.
To see where prototyping sits in the wider process, and which prototype is right at each stage, read our full guide on prototype development. For the rough end of the range, see our guide to low fidelity prototypes in product design.