Getting a product manufactured means far more than finding a factory and placing an order. It runs from preparing the design for production, through the technical package, choosing the right method, vetting and managing a factory, tooling and sampling, and scaling to a full run. Each stage carries decisions that affect cost, quality and timing, and skipping them is where most avoidable problems begin. This guide walks through the process in the order it actually happens.
You have a design you are happy with. The question now is how to turn it into something a factory can make repeatedly, to the right quality, at a cost that leaves you a margin. That is a distinct stage with its own decisions, and getting it wrong is expensive in a way that earlier mistakes are not, because by this point you are committing to tooling, materials and volume.
This guide covers the manufacturing stage specifically. For the wider journey from idea through to production, start with our pillar on taking a new product idea to production. Here we assume the design exists and focus on how to get it made.
Finalising the design for manufacture
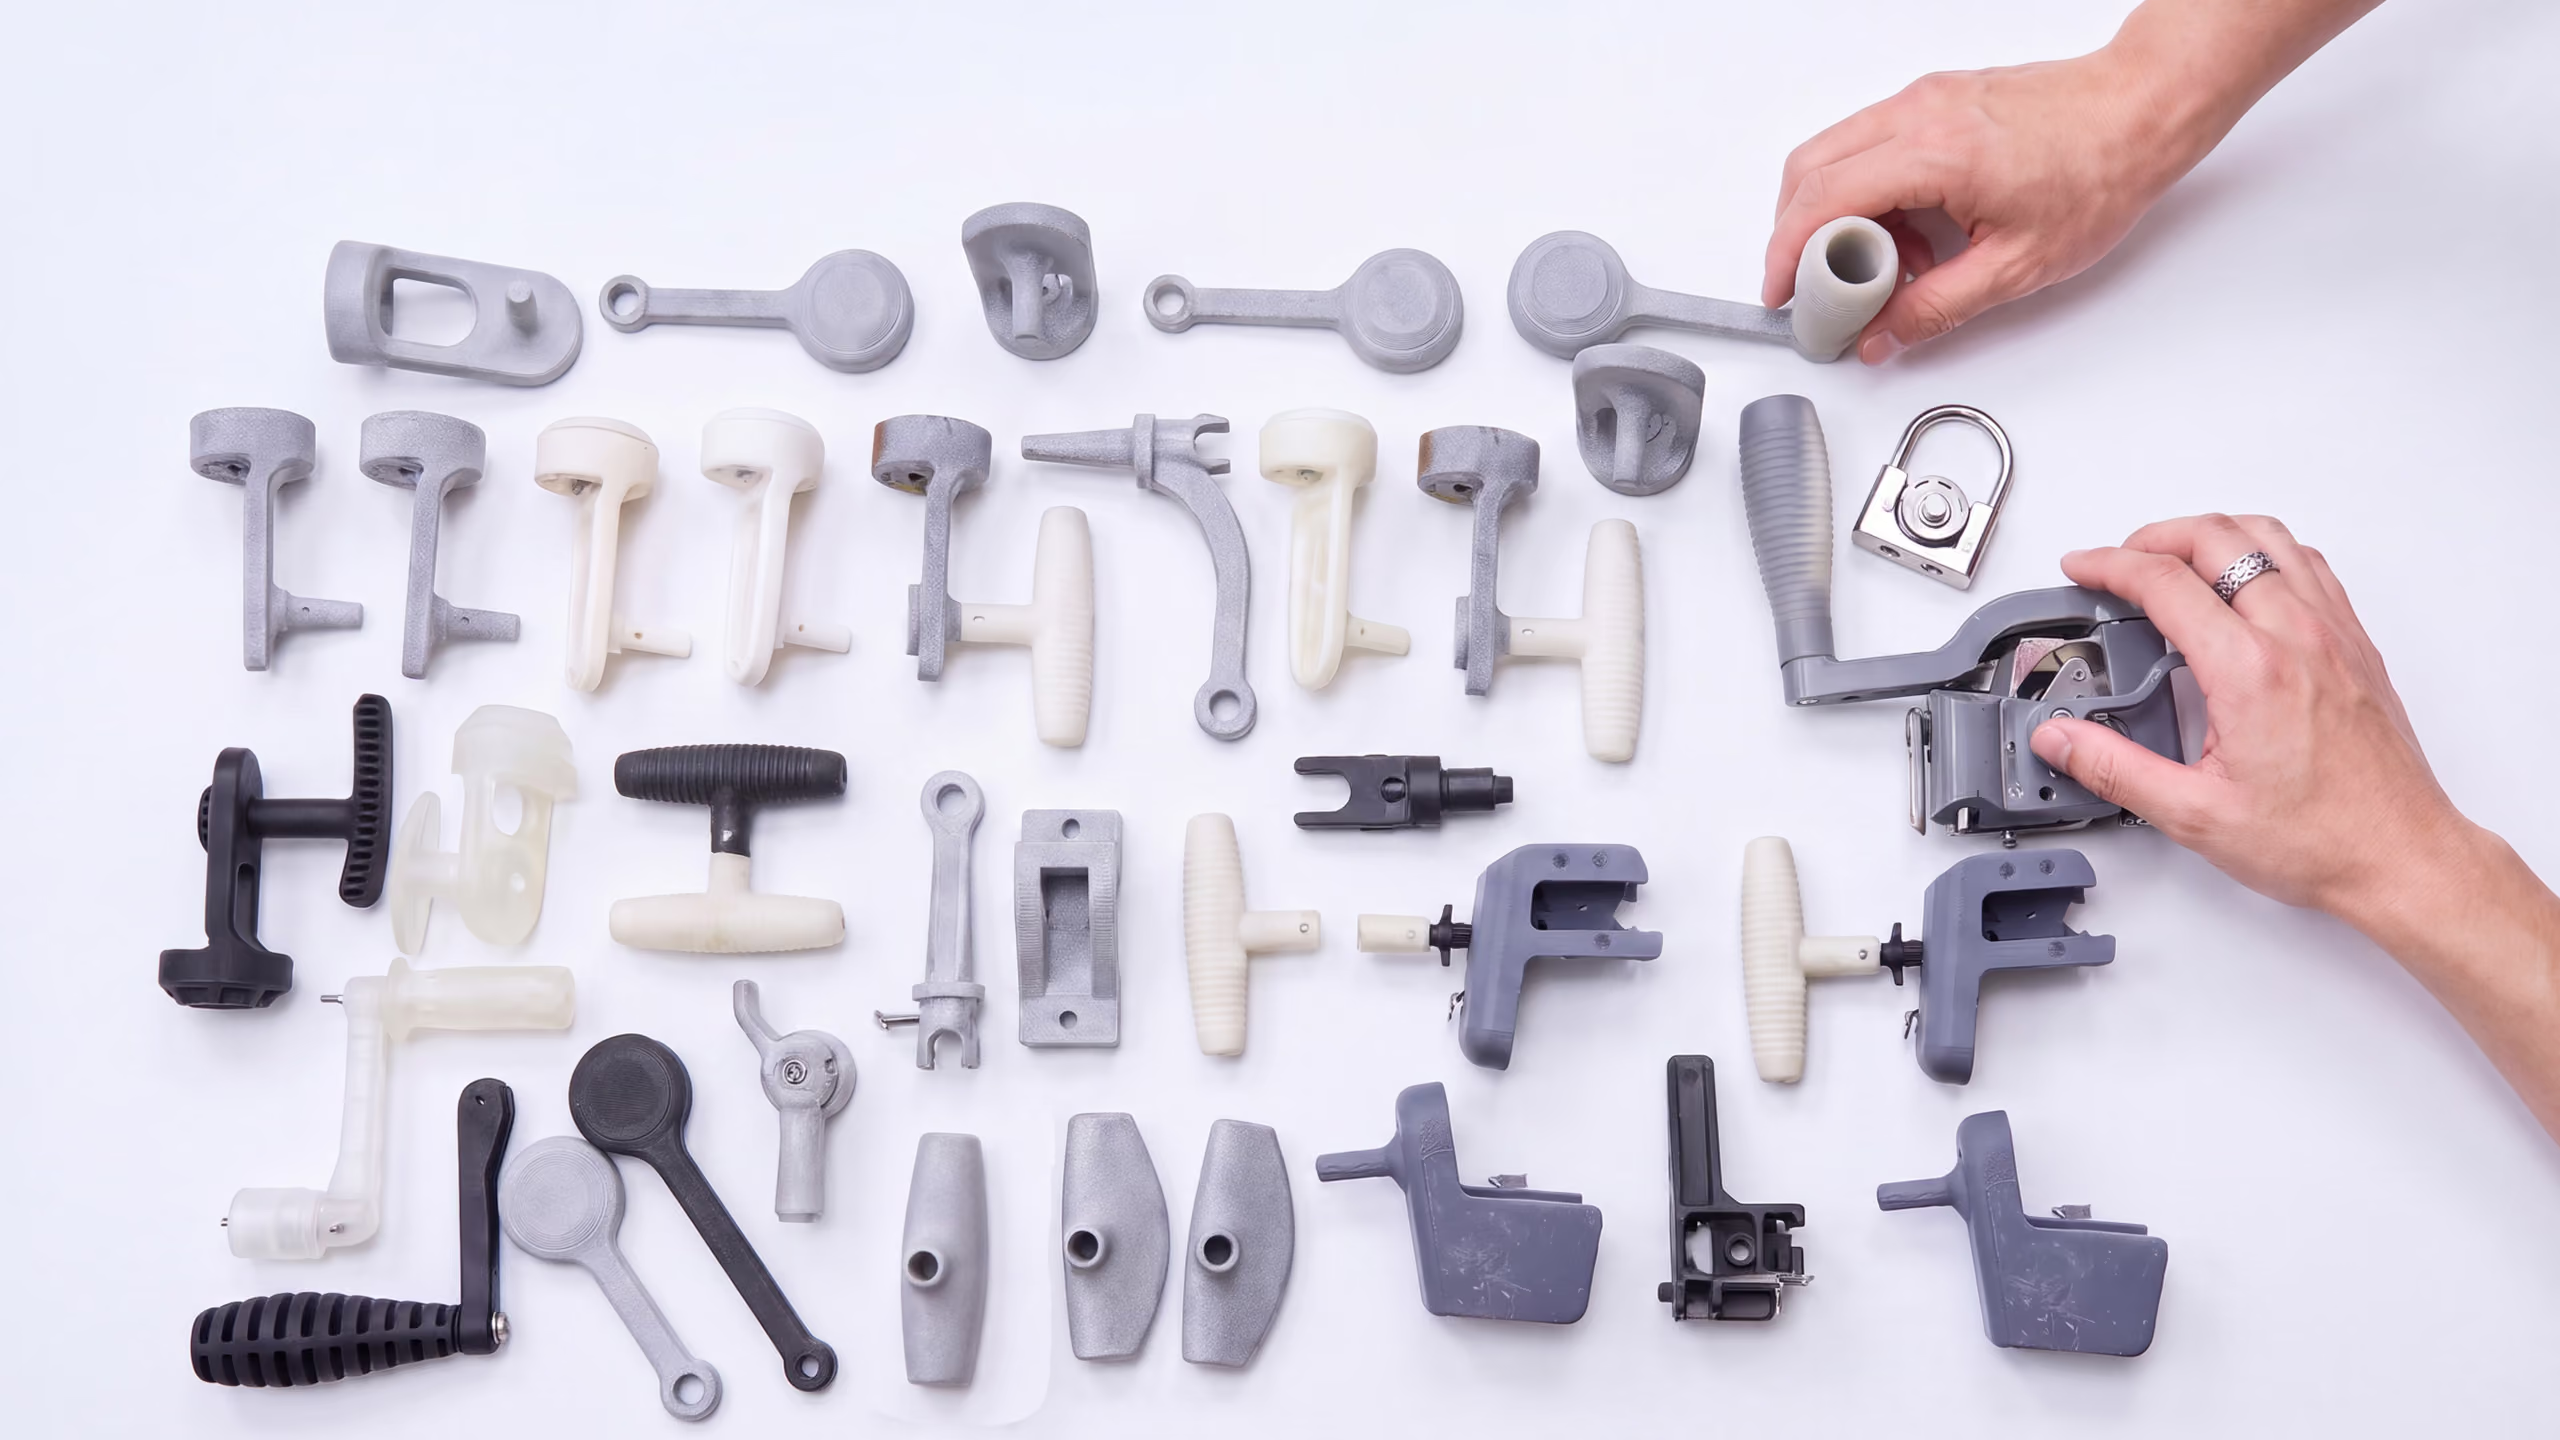
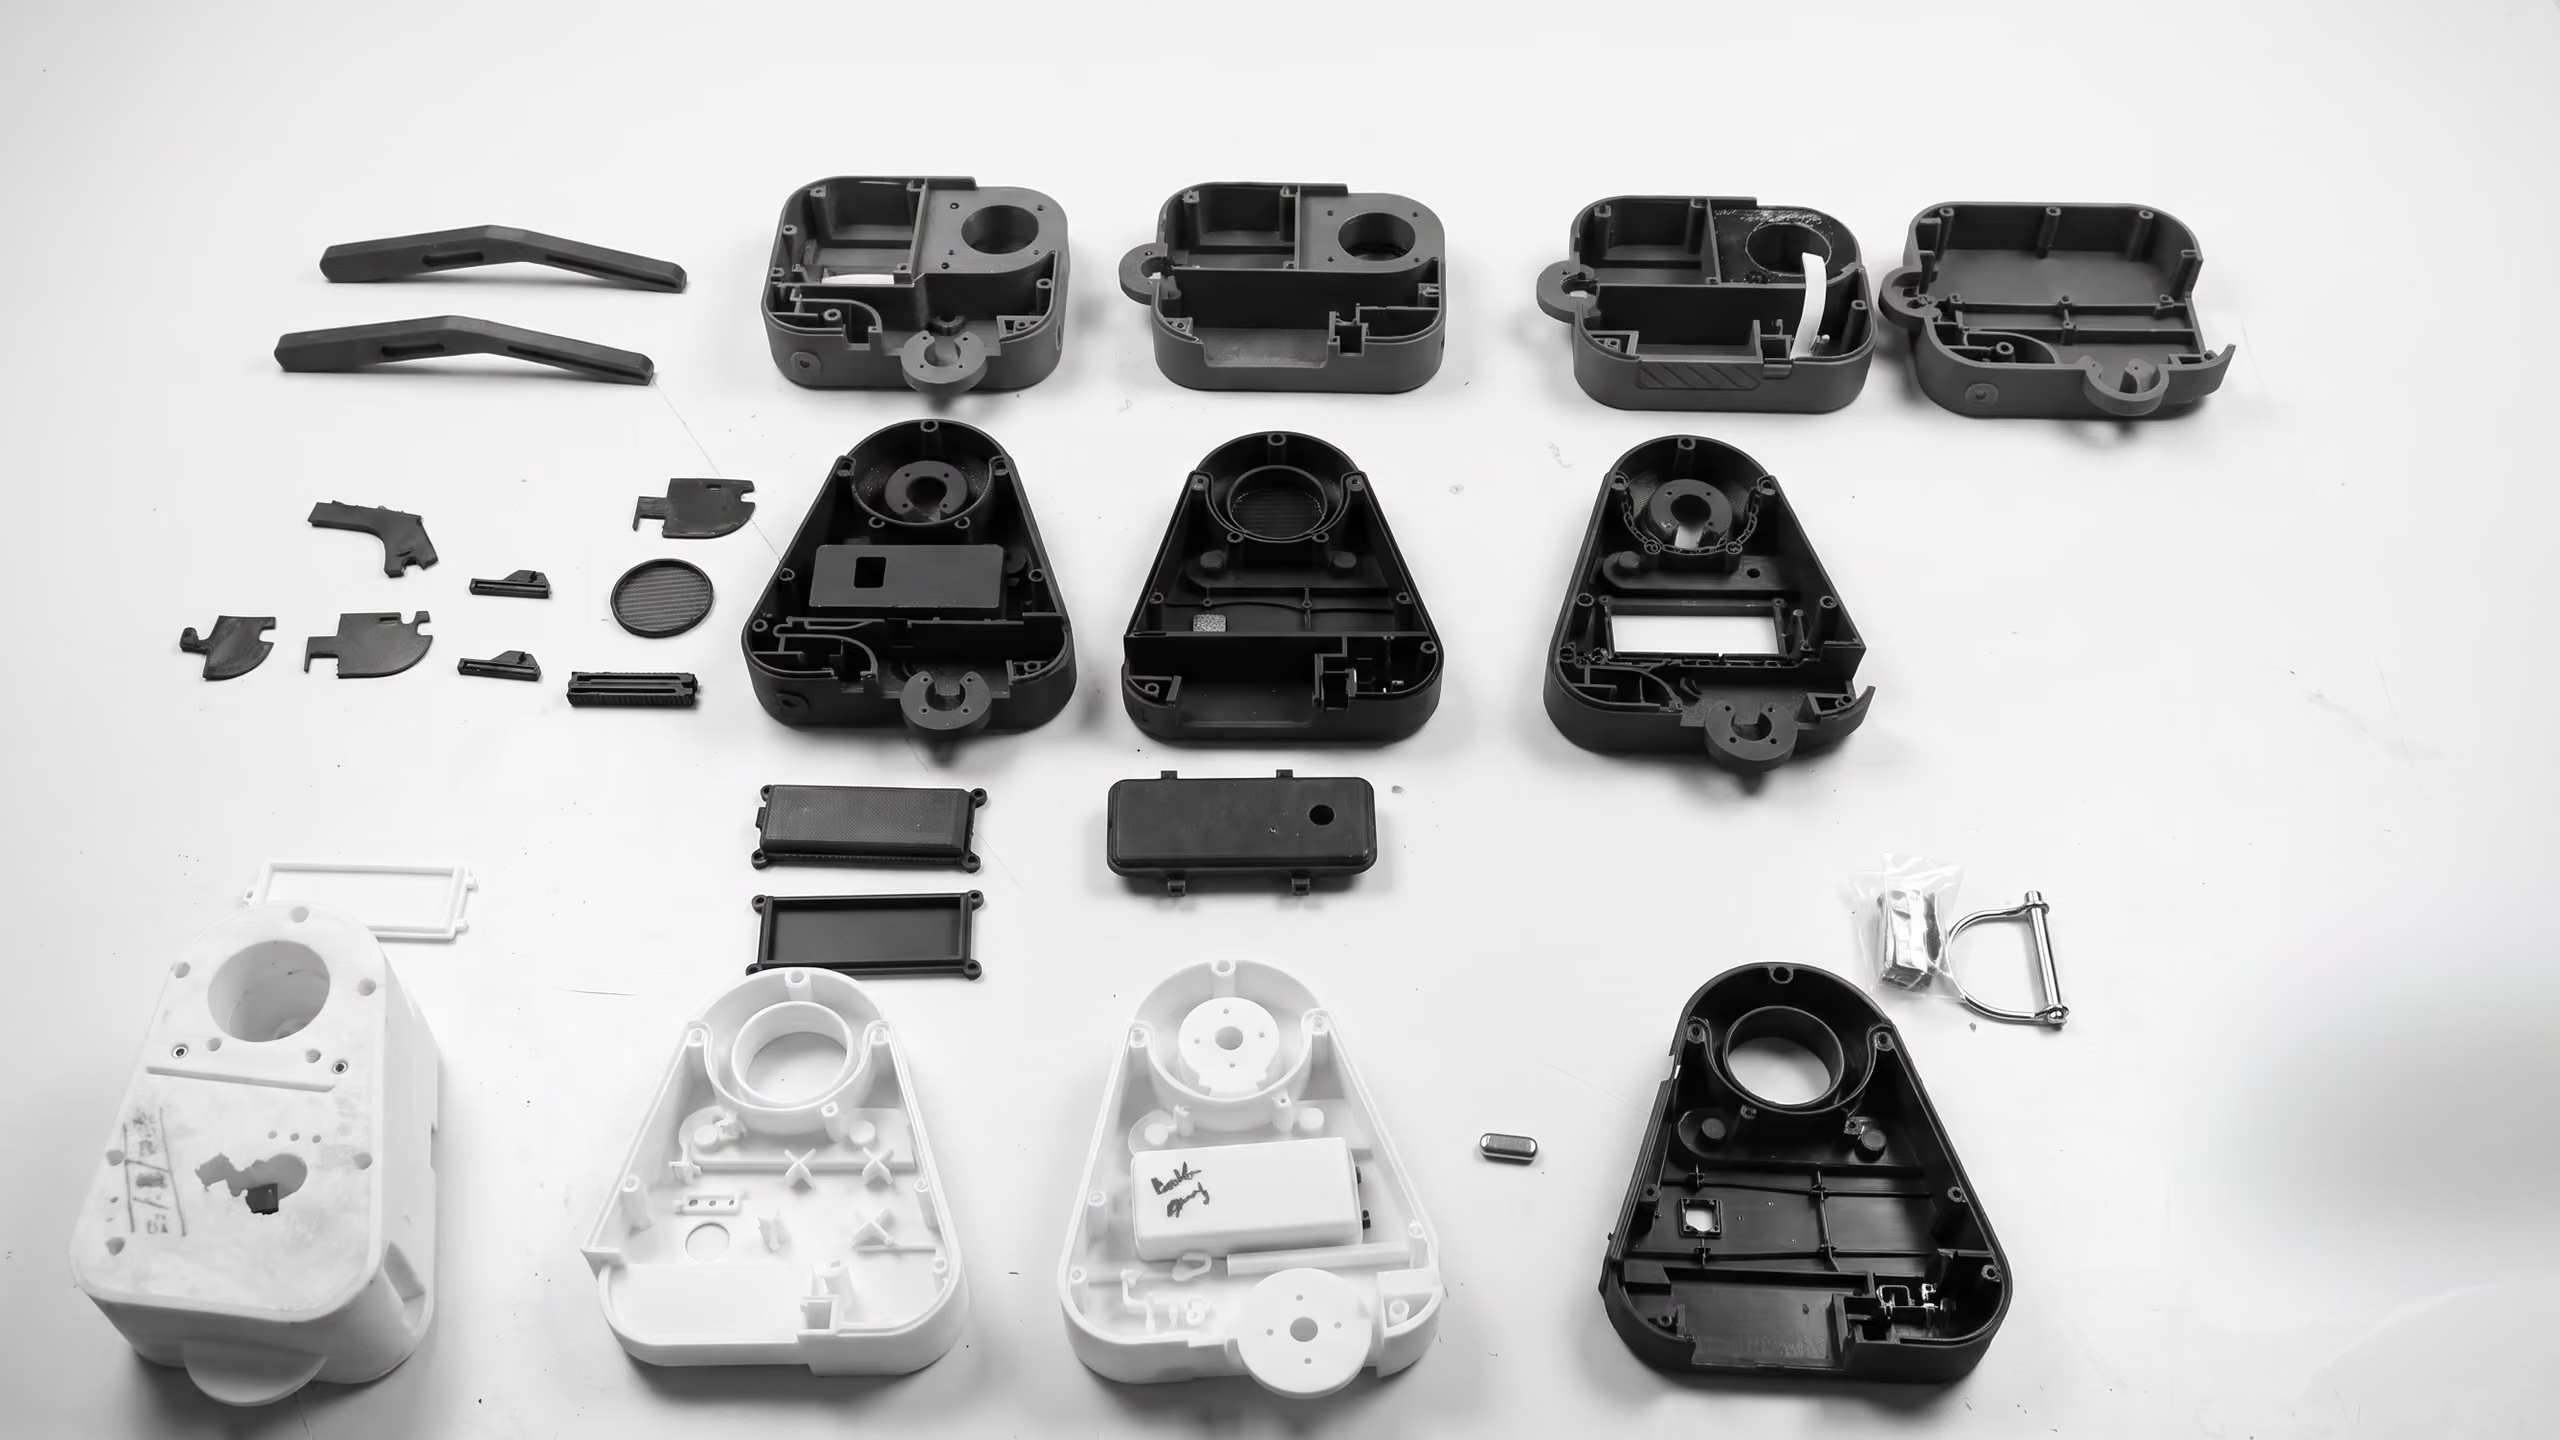
Before anything is made, the design has to be ready for production, and a prototype that looks and works well isn't the same as a design that can be built repeatably at volume. Prototypes often rely on custom parts, 3D-printed components or materials that make sense for one-offs but not for a production run. Preparing the design for manufacture, usually called Design for Manufacture, or DFM, is the step that closes that gap.
A DFM review works through a product to make it cheaper and more reliable to produce without compromising what it does. In practice that means reducing the number of parts to lower both cost and assembly complexity, substituting production-grade materials suited to the chosen process, specifying tolerances and fits so parts can be made repeatably and still assemble correctly, and factoring in any compliance the product has to meet, such as CE or UKCA marking, flammability, electronics safety or recyclability.
This is where designers and engineers need to work closely, with feedback running both ways between design intent and production feasibility. Done properly, DFM can save significant cost and months of rework later, often tens of thousands of pounds and the schedule slip that comes with fixing a problem after tooling has been cut.
Creating the technical package
Once the design is production-ready, it has to be documented in enough detail that a manufacturer can quote and build from it without guessing. This technical package is the blueprint for manufacture, and gaps in it are where ambiguity, delay and tooling errors creep in. A complete package usually includes:
- 2D manufacturing drawings with tolerances, material specifications and critical dimensions
- 3D CAD files for CNC programming and tool-making
- A bill of materials (BOM) listing every component, material, quantity, supplier where known, and part number
- Assembly instructions showing how the product goes together
- Test specifications so quality control can verify performance and safety during production
The more precisely this is defined, the more accurate the quotes you get back and the fewer surprises appear later. This is closely tied to your manufacturing specification, which sets out exactly what the manufacturer is being asked to deliver.
Choosing the right manufacturing method
There is no single right way to make a product. The method depends on the product, the volume, the budget and the timeline, and the right choice is often about trade-offs between tooling cost, unit cost, precision and lead time. The main options:
MethodBest forNotesInjection mouldingHigh-volume plastic partsHigh upfront tooling cost, but low unit costCNC machiningLow to mid-volume metal partsHigh precision, good for functional partsSheet metal fabricationEnclosures, bracketsFlexible for low volume; quick to turn around3D printingRapid prototypes or niche productsRarely viable at scaleDie castingHigh-volume metal partsDurable tooling; suited to consumer electronicsVacuum formingSimple plastic enclosuresCheaper tooling; limited complexity
Matching the product to the right process and factory is often done by quoting several options and comparing them across lead time, cost and finish. It is worth taking the time here, because the method you choose shapes both your tooling investment and your unit economics for the life of the product.
Finding and managing a manufacturer
This is often the most daunting part for a first-time founder. There are thousands of manufacturers to choose from, and most describe themselves in much the same terms, so the work is in telling them apart. A few things help:
- Ask for samples of previous work, ideally similar to your product
- Start small, with a prototype or low-volume run before committing to scale
- Judge communication, since responsiveness and clarity matter more than a slightly lower price
- Visit if you can, or use a local quality-control agent to audit the factory
- Protect your design with NDAs and agreements, particularly overseas
Manufacturers are not interchangeable. Some specialise in electronics assembly, others in plastic moulding, others in metal fabrication, and many products need coordination across more than one supplier rather than a single partner who claims to do everything. Where to make the product is a decision in its own right, with real trade-offs between cost, oversight and lead time, which we cover in choosing a manufacmturing location. If the whole task of finding and coordinating factories feels beyond your in-house capability, that is exactly what a manufacturing agent or development partner exists to handle, as we set out in who can help you find and manage a manufacturer.
Tooling and pre-production sampling
Before full production begins, the manufacturer usually creates tooling, the moulds, dies and jigs that make repeatable parts possible. Tooling is typically one of the largest upfront costs of the whole process, and because every unit is made from it, any fault in the tool is replicated across every unit. It's worth getting right rather than getting fast.
Once the tooling is ready, you receive T1 samples, the first parts made from production tooling. These almost always need refinement, and it is normal to work through several rounds, T2, T3 and so on, before the tooling is signed off. When checking early samples, look at:
- Fit and finish
- Material quality and consistency
- Part tolerances and dimensions
- Assembly performance
- Surface treatments such as coatings and textures
- Colour matching, which matters particularly on consumer products
This is not a stage to rush. Approving tooling with a defect still in it bakes that defect into the entire production run.
Scaling to full production
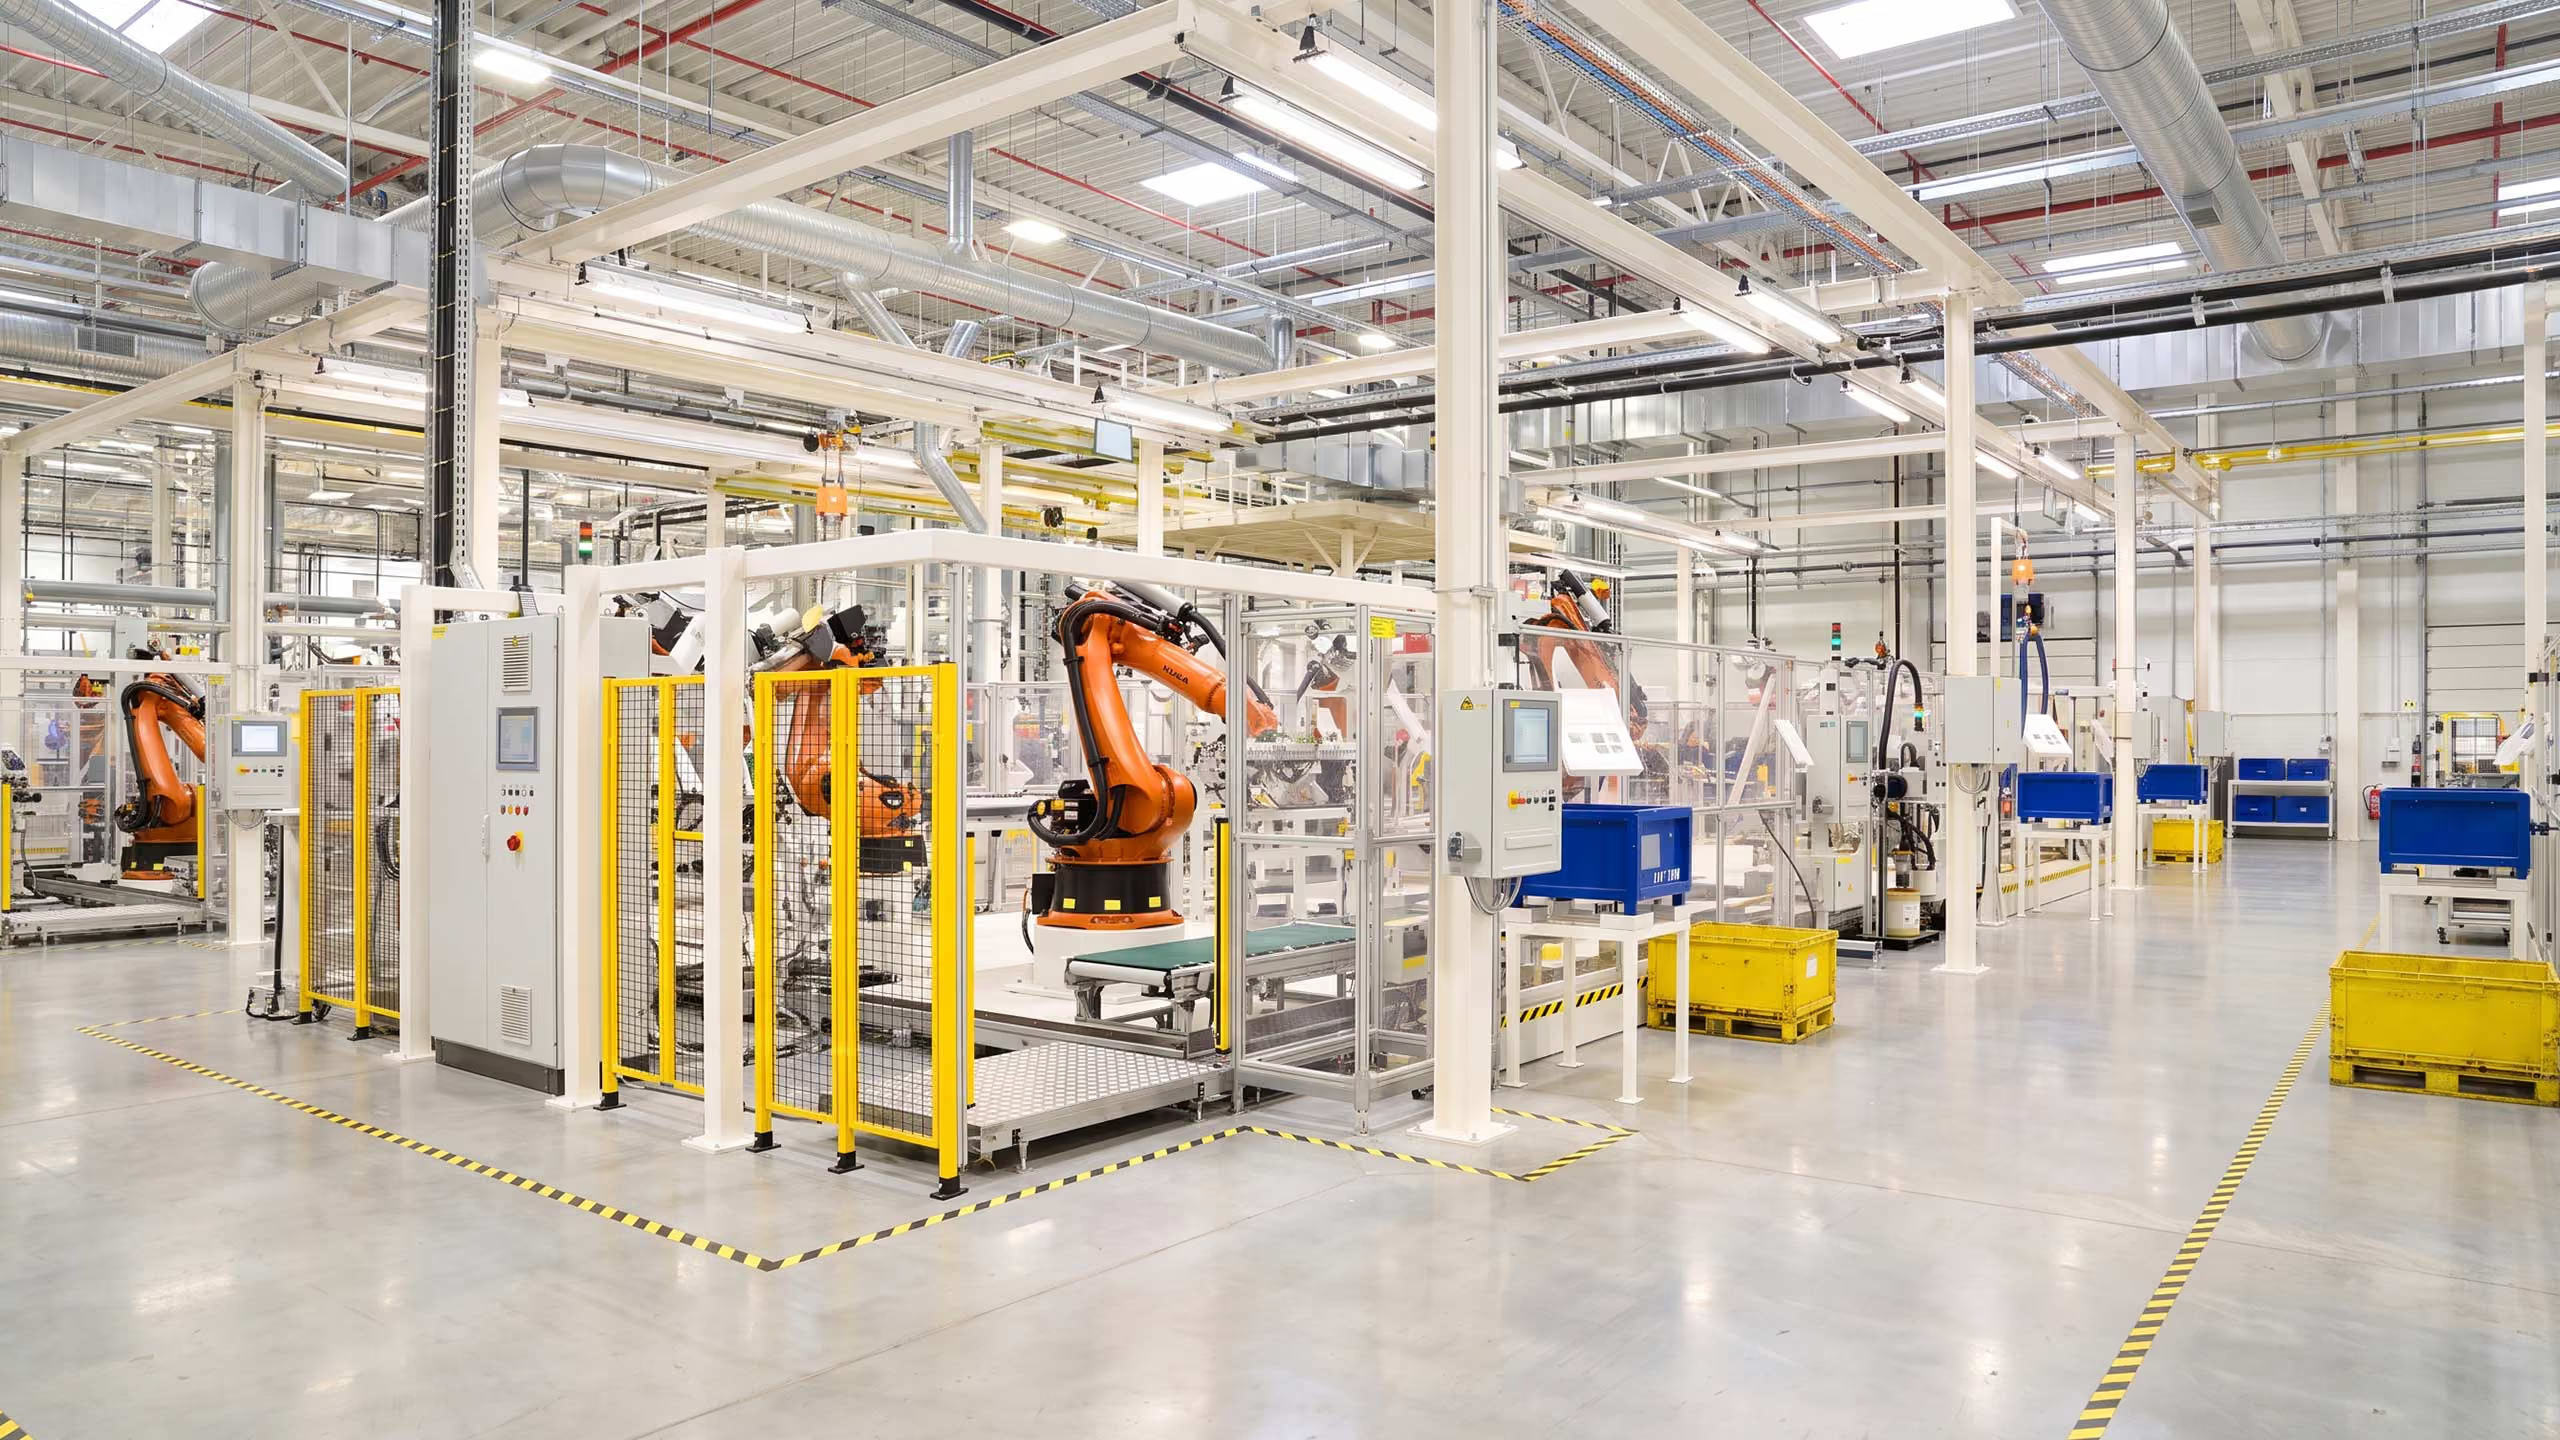
With tooling approved, you can move into full production, usually in stages rather than all at once. A pilot run, often somewhere between 100 and 1,000 units, tests the production line, the quality and the packaging before you commit to the first full batch for launch, with ongoing batches following demand.
Lead times at this stage commonly run from 4 to 16 weeks depending on factory capacity, material availability and complexity. As a rough guide, the manufacturing stage as a whole, covering tooling, sampling, production and shipping, tends to take somewhere in the region of 3 to 6 months, though a bespoke or highly regulated product can take longer. Good production planning and supply-chain management matter here, alongside a clear quality-control regime, whether that is factory inspection, random sampling or third-party checks, and a plan for logistics and inventory.
Packaging and regulatory requirements
Packaging is not only about how the product looks on a shelf. It protects the product in transit, informs the customer, and carries the markings that make the product legal to sell. Depending on the market you may need retail packaging, transit packaging, regulatory markings such as CE, UKCA, WEEE or RoHS, and user documentation such as guides, warnings and warranties. Getting this right early matters, because non-compliant packaging or missing documentation can stop a product being sold, or trigger fines or a recall after it has shipped.
Managing cost through production
One of the most common misconceptions is that a lower unit cost always means better value. It doesn't; a well-run production balances cost, quality and risk rather than chasing the cheapest price. The main cost drivers are tooling and its amortisation across volume, material cost, labour cost, part count and assembly complexity, and the yield or scrap rate.
Just as important is the difference between what a product costs to make and what it costs to land, once shipping, duties, packaging and handling are counted. A saving of fifty pence a unit can be wiped out by a three-week shipping delay if it means missing a retail window. It is worth modelling margins at different volumes and building in a buffer for the costs that are hard to predict. For a fuller treatment, see our guides on manufacturing cost considerations and how much it costs to manufacture a product, and on reducing cost through design in value engineering.
An example
The Delphi Dog drying garment started as a home-made prototype and needed a good deal of work before it could be manufactured. The design had to be scaled properly, with sizing standardised and materials selected for durability, washability and grip. Design for manufacture was central: the pattern layout was adjusted, components such as fasteners and grip materials were selected for production, and packaging and logistics were factored in from the start. Material suppliers were vetted, costings refined and quality control set up before production began, so the issues that had shown up in the prototypes were resolved rather than repeated. When the product was manufactured, it performed reliably, and customers reported good durability in use.
How D2M can help
Bringing a product to market involves more than finding a factory. We prepare designs for manufacture, produce the technical package that factories quote and build from, and help source, quote and vet the right manufacturers, then manage tooling, sampling, quality control and logistics through to a shipped product. Because we prototype with production in mind rather than making models that only look the part, the product that reaches the factory is one that can actually be made, which is what keeps the manufacturing stage predictable rather than fraught.
In short
Getting a product manufactured is a stage with a clear order: prepare the design for production, document it fully, choose a method, find and manage the right factory, get the tooling and samples right, then scale through a pilot run to a full one, with packaging, compliance and cost managed alongside. Most of what goes wrong at this stage comes from skipping a step to save time, and most of it is avoidable with the planning set out above.
Related guides: Manufacturing a New Product Idea to Production · Manufacturing Specification · Choosing a Manufacturing Location · Who Can Help You Find and Manage a Manufacturer · Manufacturing Cost Considerations · Value Engineering