This is a practical walkthrough of designing and developing a product, from the first sketch to a market-ready result. It covers defining the problem you are solving, finding your unique selling point, testing whether the idea is feasible, and moving through design, prototyping and manufacture, along with the mistakes that most often trip founders up. It is the hands-on companion to our explanation of the product design process: where that sets out what each stage is, this shows you how to work through them.
Designing a product is much more than styling it. It is the work of turning an idea into something that meets a real customer need, is technically feasible, and is financially viable, and then getting it made. Over fifteen years and more than 1,600 projects we have watched what makes that journey succeed and what makes it stall, and the difference usually comes down to a handful of decisions made early. This guide walks through them in the order they tend to arise.
Every project from sketch to shelf is a little different, but the underlying path is broadly the same. Most people benefit from a professional designer or agency to do it well, but understanding the stages yourself puts you in control of the project.
Start with the problem, not the product
Great products solve real problems, so before designing anything, step back and be clear about the problem. What pain point does this solve, who is it for, and why would they care? The idea does not have to be revolutionary; it needs to be useful and clear, whether that is a gadget that saves time or a more sustainable alternative to something wasteful.
A useful discipline is to write a one-sentence problem statement. If you cannot define the issue your product addresses in a single clear sentence, the idea probably needs refining before you go further. Everything downstream, the design decisions, the messaging, the pricing, gets easier once the problem is stated plainly.
Research the market and find your USP
Before investing time or money in design, do some grounded market research. Look at the products already in the space and ask what is working and what is not, who the competitors are, and where the gaps sit. Always start from the target market, because that is where the project ends, with those people choosing to buy, so it makes little sense to start anywhere else.
The goal of this stage is to identify your unique selling point: the one or two things that will make your product stand out. A clear USP shapes the design brief and, later, the way you sell the product.
Test feasibility before you commit
Once you have a strong idea, the next step is to test whether it can realistically succeed, before any significant spend. A feasibility assessment looks at the concept from three angles:
- Technical: can it actually be made reliably? This means assessing materials, functionality and production methods.
- Commercial: do the numbers work? Estimating tooling, manufacturing, packaging and shipping costs confirms whether achievable margins exist, and reviewing any safety or compliance requirements flags costs and timelines early.
- Market: is there genuine demand? Analysing customer need, pricing and competition judges whether the product fills a real gap.
The value of this stage is that it identifies barriers early, high component costs, complex assembly, compliance hurdles, while they are cheap to act on. Its findings tell you whether to progress, adapt or pause. If the practicality and the numbers stack up, you can move into detailed design with confidence.
Write a clear product design specification
With the idea validated, the next step is a clear product design specification: the document that defines what success looks like and keeps everyone aligned. It sets out the design criteria, performance standards and compliance requirements, and it is worth the effort, because a strong specification guides the whole team, saves time, and prevents the costly redesigns that come from an ambiguous brief. This is also the point to include a competitor analysis, so the product is positioned distinctly from the outset.
Develop and evaluate concepts
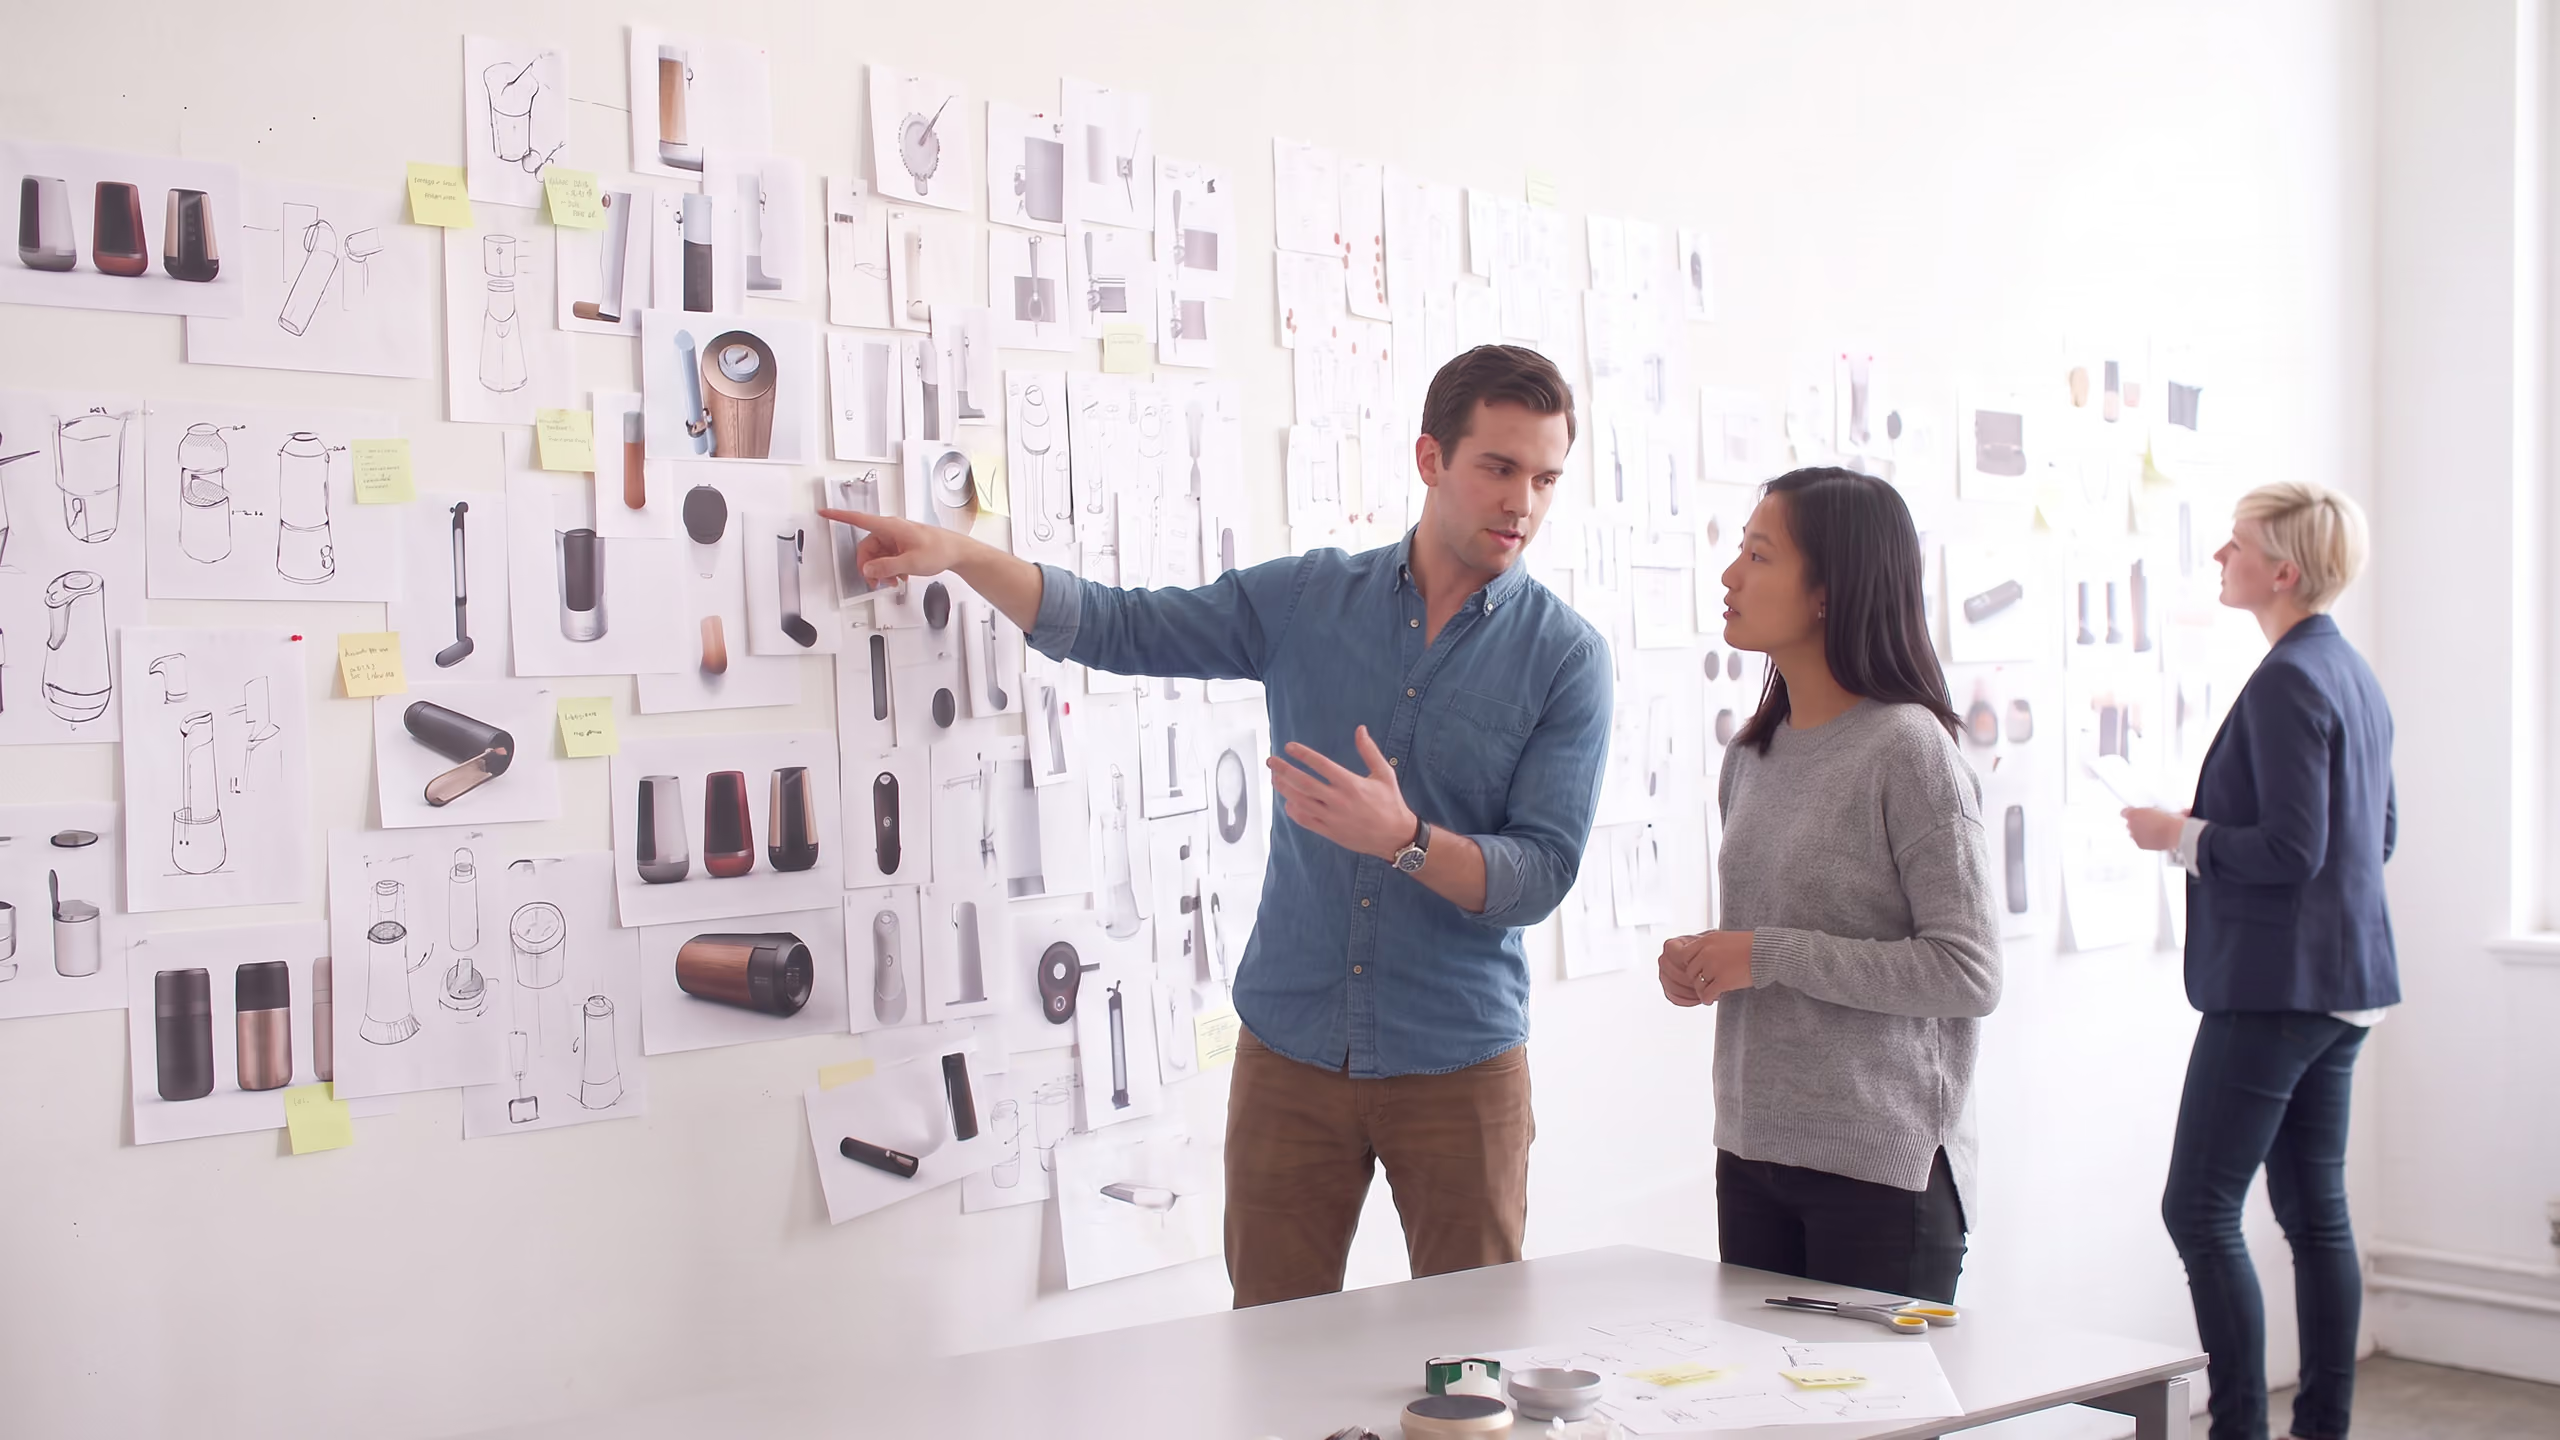
This is where creativity comes in. Designers explore several ways to meet the brief, turning ideas into tangible concepts through sketching and modelling. Each concept is evaluated against the specification, user needs and commercial objectives, with a preliminary technical and economic feasibility check, and the strongest is selected and refined through feedback and iteration. Early prototypes may be built here to test core functionality and gather initial reactions.
Review the IP landscape
Before taking a design too far, review the intellectual property landscape. This means checking existing patents to avoid infringing others' rights, and identifying where your own innovation might be protectable. Doing it at this stage, rather than after committing to a design, is what keeps both risks and opportunities visible while there is still room to act. For the detail, see our guide to how to patent an idea.
Prototype, test and refine
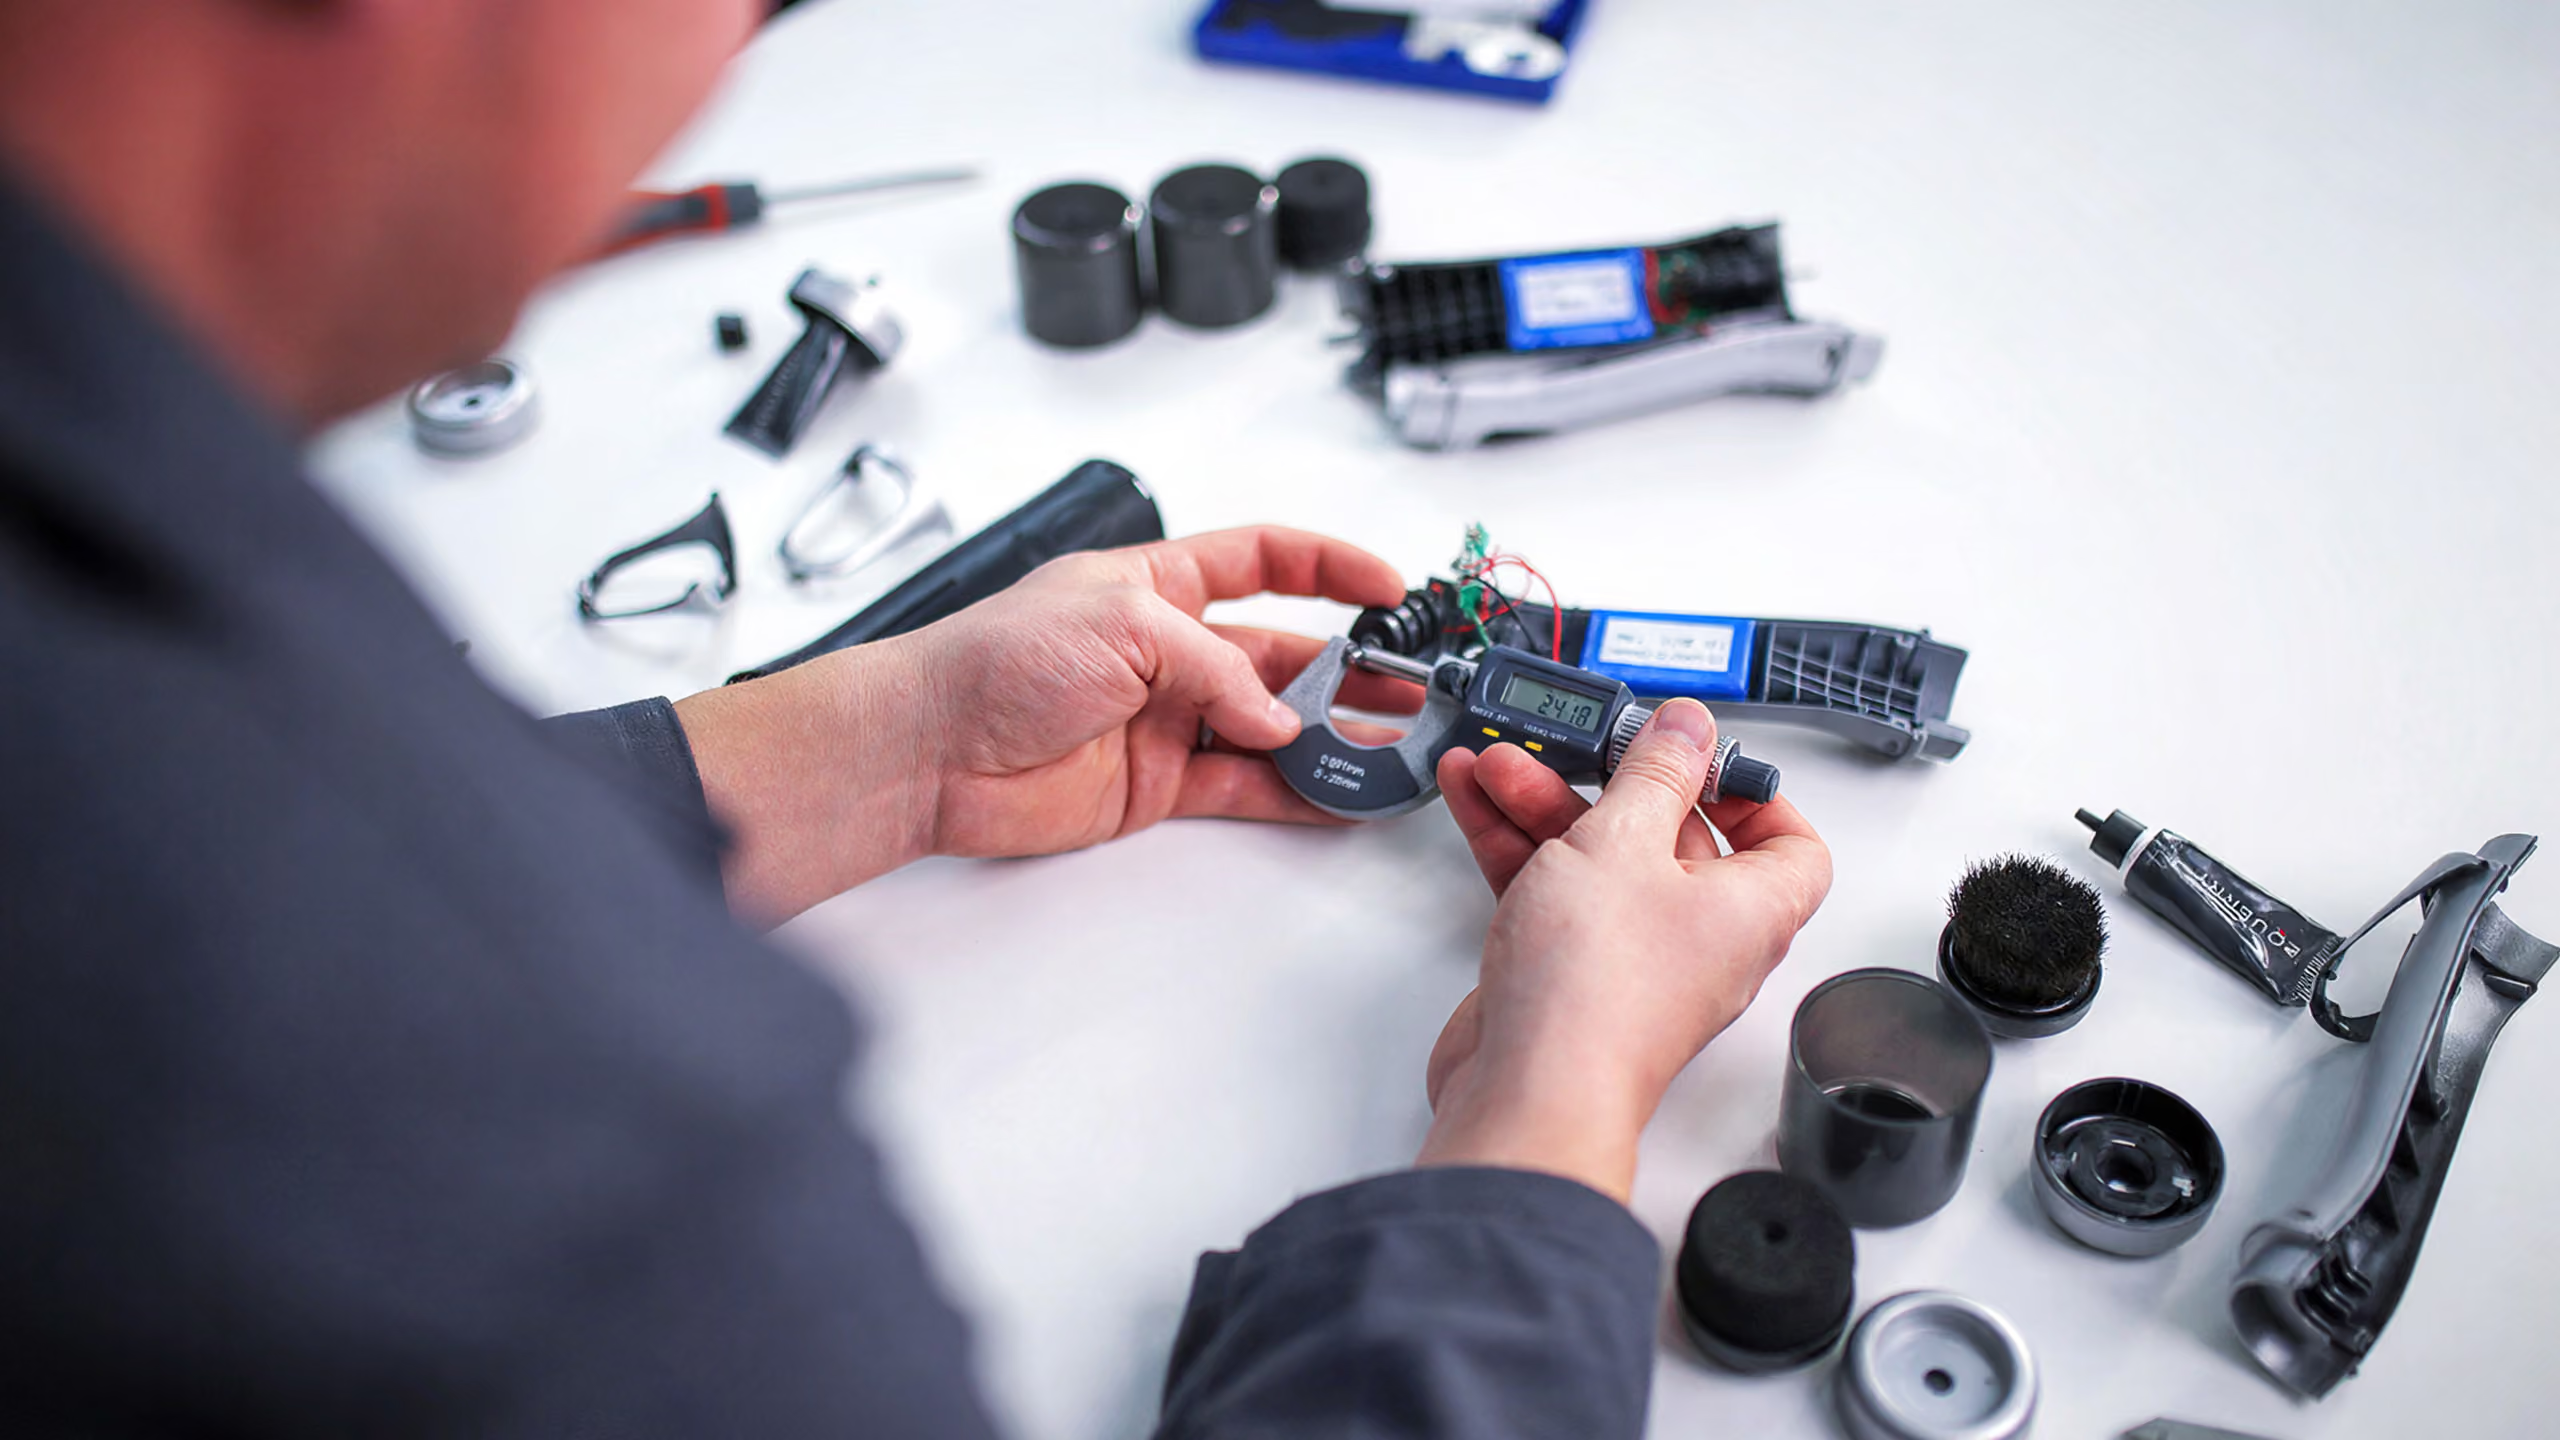
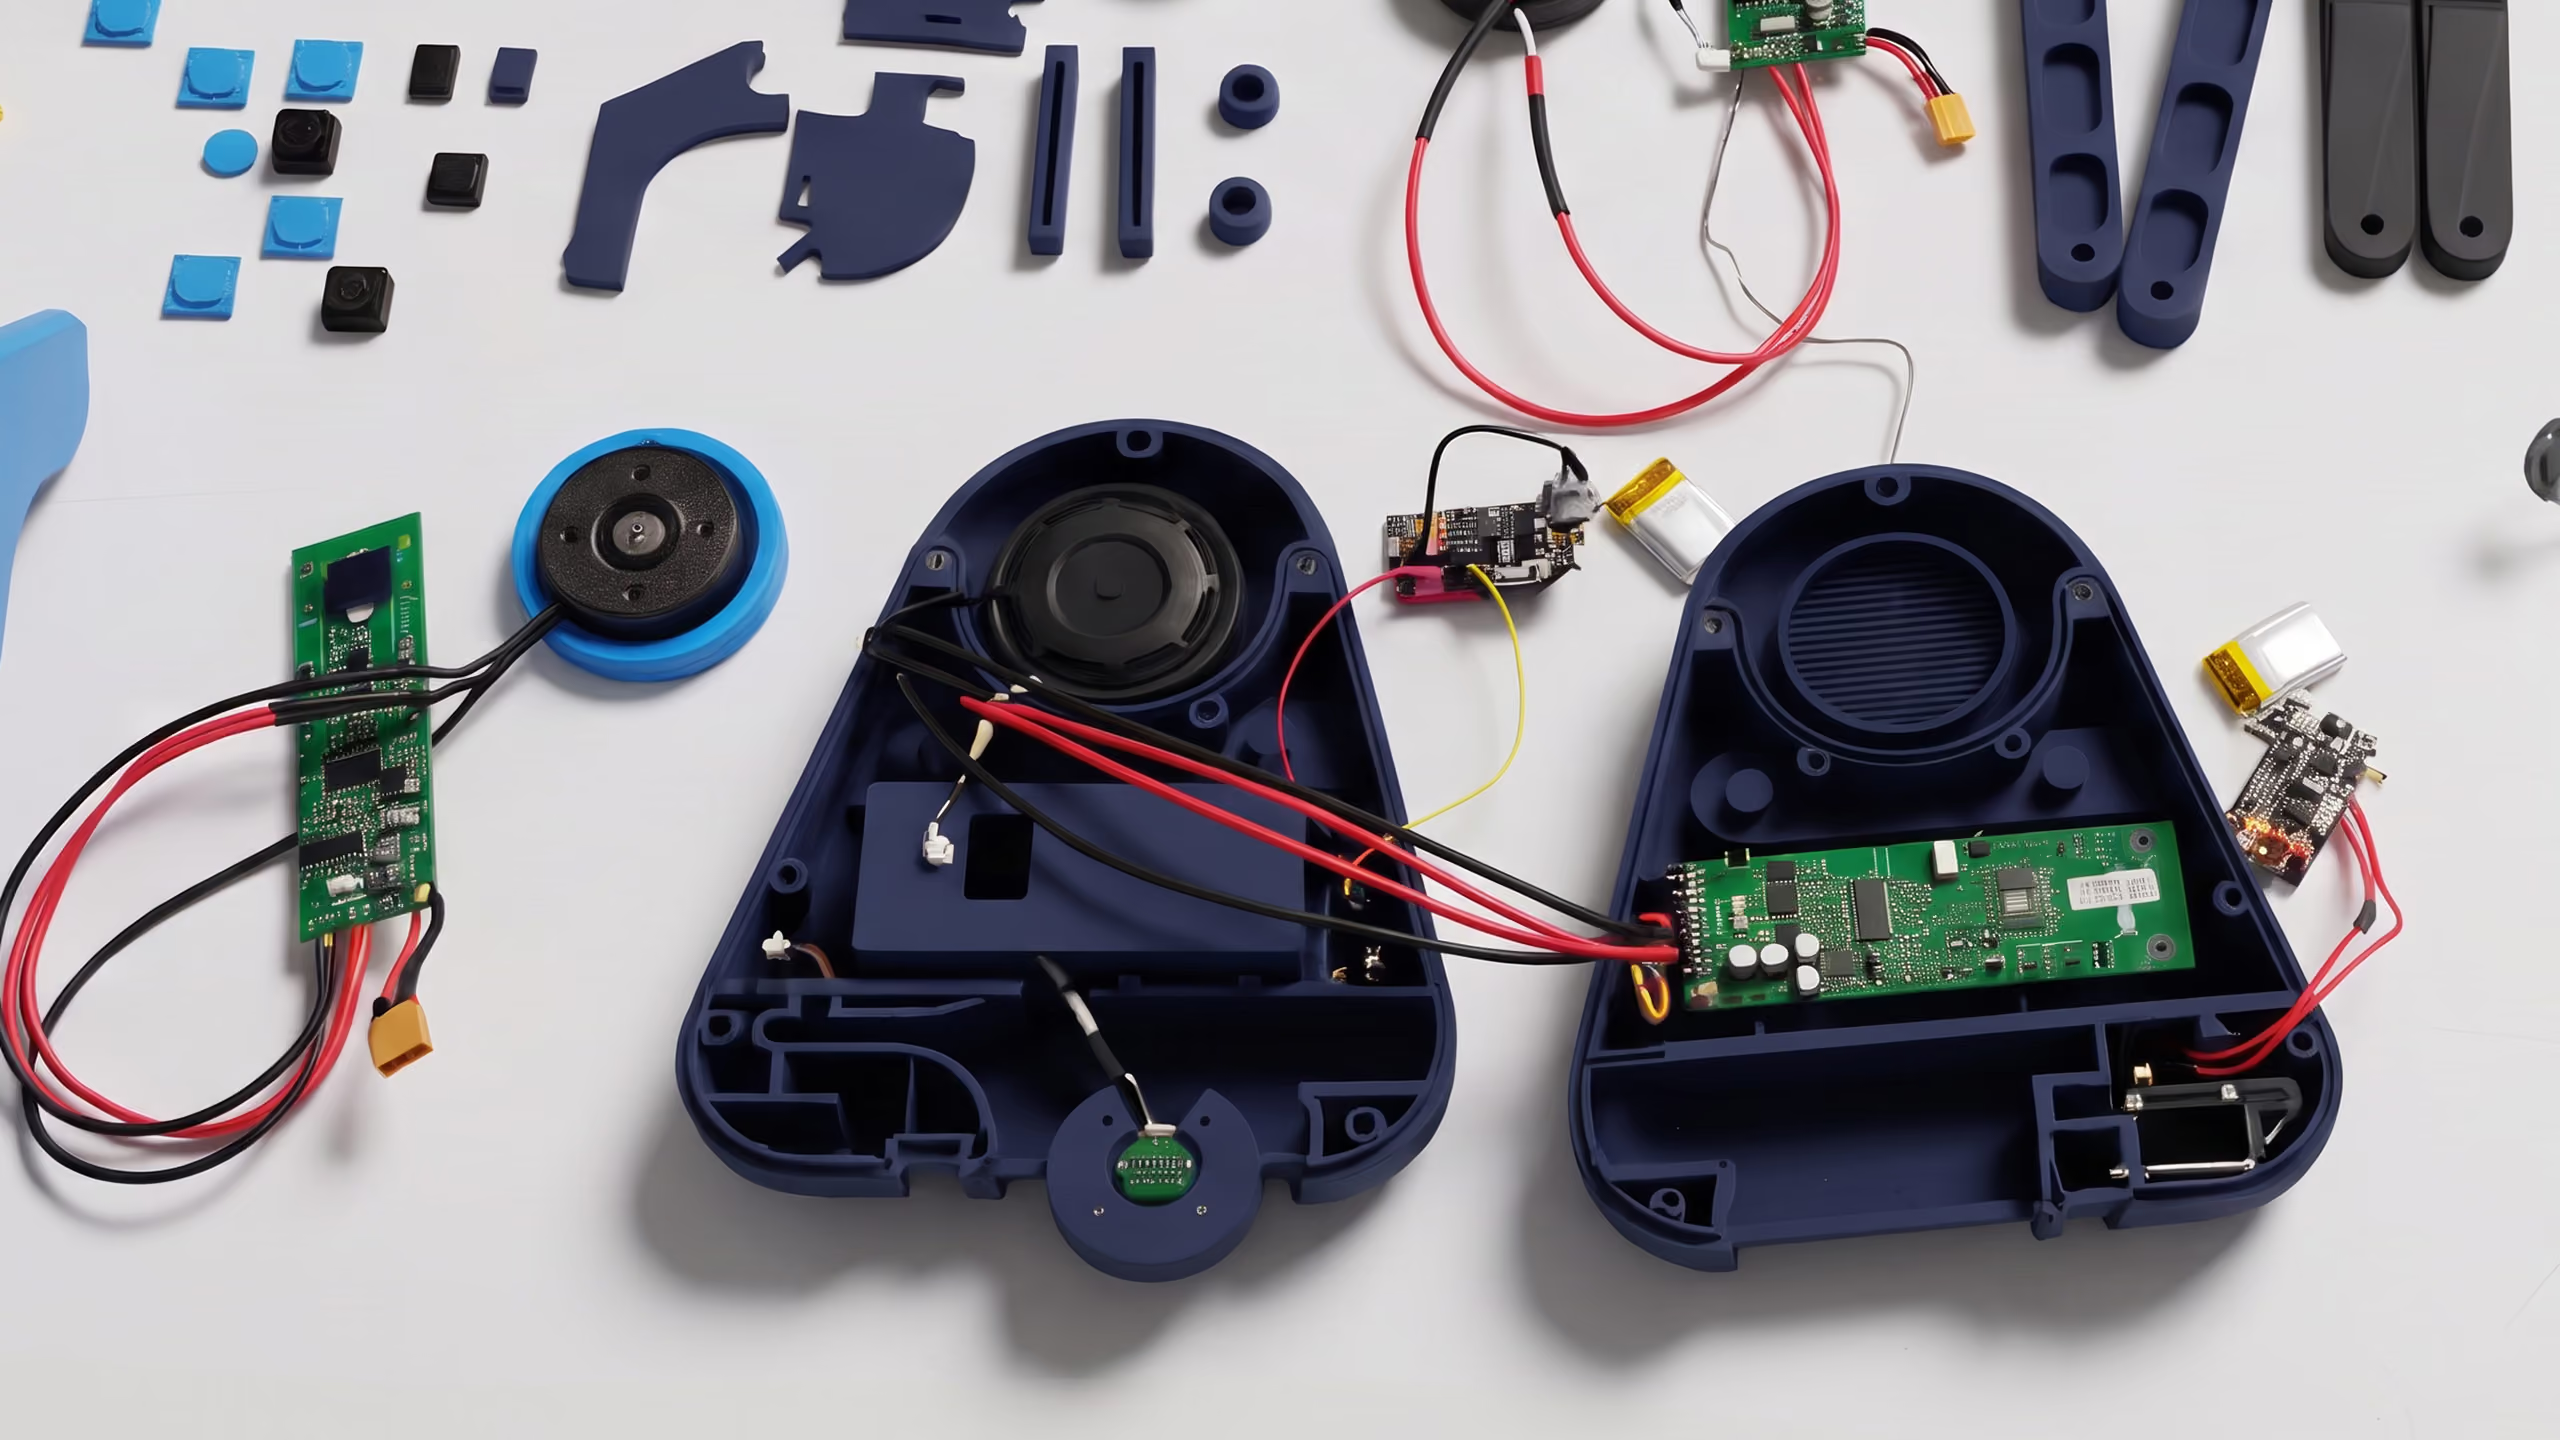
Prototyping turns the chosen concept into something you can hold and test. It moves from rough models that prove basic function and dimensions to higher-fidelity versions that closely resemble the finished product, with user feedback at each round driving refinement. This iterative loop is deliberate: problems found and fixed in a prototype are far cheaper than problems found in production. Our guide to prototype development covers this stage in full.
Prepare for manufacture
With the design resolved, the focus shifts to production. The design is finalised for manufacture, documented in a specification a factory can build from, and the right manufacturing route and partner are chosen. Manufacturing is a substantial subject in its own right, covered in our guide to getting a product manufactured, but it should never be an afterthought: the best results come from considering manufacturability from early in the design, not bolting it on at the end.
Common mistakes to avoid
A few mistakes recur often enough to be worth naming. Starting with the product rather than the problem, so the result is a solution looking for a need. Skipping feasibility and discovering a fatal cost or compliance issue after committing money. Designing for yourself rather than the target market. Leaving manufacturability until the design is fixed, then facing expensive rework. And rushing the early stages, where taking time is cheapest and pays off most. Each is avoidable with a clear process and honest appraisal at every stage.
How long does it take?
It depends on complexity and how quickly you move through each stage, but a typical timeframe is six to eighteen months from concept to a ready-for-market product, including design, prototyping, testing and manufacturing setup. Simple products can move faster; complex ones, particularly those involving electronics, can take longer.
How D2M can help
We guide businesses through this whole journey, from a first idea to a manufactured product, and our focus throughout is on reducing risk and protecting the commercial case. We help define the problem and the USP, test feasibility before you spend, write the specification, develop and prototype the design, and prepare it for manufacture, applying design for manufacture and value engineering so the result is practical to produce and ready to scale. Whether you are starting from a sketch or refining an existing concept, the aim is to give the product the best possible chance in the market.
In short
Designing a product is a practical sequence: define the problem, research the market and find your USP, test feasibility, write a clear specification, develop and evaluate concepts, review the IP landscape, prototype and refine, and prepare for manufacture. Work through it in order, avoid the common early mistakes, and give the front end the time it deserves, and you turn an idea into a product with a genuine chance of success. Most founders do it best with experienced help, but understanding the path is what keeps you in control of it.
Related guides: Product Design Process · Prototype Development · How to Get a Product Manufactured · How to Patent an Idea
FAQ
What is the difference between designing a product and developing it? Designing focuses on creating the concept and resolving how it looks and works; developing is the wider journey that carries that concept through prototyping, testing and manufacture to launch. In practice they overlap, and this guide covers the full path.
How long does it take to design and develop a product? Typically six to eighteen months from concept to market-ready, depending on complexity. Simple products can be quicker; electronics and complex mechanisms take longer.
Do I need a professional designer? Not strictly, but most people get a better result with one. An experienced designer or agency brings knowledge of materials, manufacturing and the pitfalls that first-time founders tend to hit.
What is the most common early mistake? Starting with the product instead of the problem, and skipping feasibility. Both lead to expensive corrections later that a little discipline early would have avoided.